Review of YouTools Add-In
At TLC Creative, our entire design team is working in PowerPoint every day. We live for finding ways to do things faster, and we have a great collection of PowerPoint Add-ins installed. New to us this year is the YouTools suite of PowerPoint add-ins from YouPresent – and we love it!
YouTools is the only PowerPoint add-in that we currently know of that is compatible with both 32- and 64-bit versions of Microsoft Office AND both Windows and Mac OSX compatible! As of today, there are over 30 tools available, but we have been amazed as that number went from 20 to 30 in just the past 4-5 months we have been using it!

Because there are so many great tools in this add-in suite, we voted in the design studio and selected 4 of favorite tools to highlight here.
- Media Extractor
- Fill Slide
- Guides
- Text-to-Outline
Media Extractor Tool:
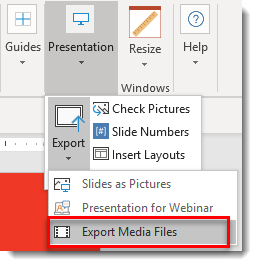
1. If you want to pull all media files from a presentation with a couple of clicks, this tool is the way to do it. On the ribbon go to PRESENTATION >> EXPORT >> EXPORT MEDIA FILES
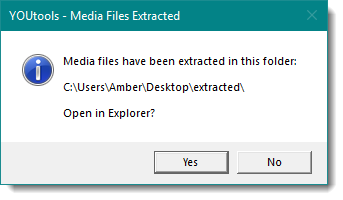
2. A file explorer window will open asking where you want to save the files. Click EXPORT HERE and wait for the add-in to finish. A pop up will appear telling you when its done and if you want to open the folder
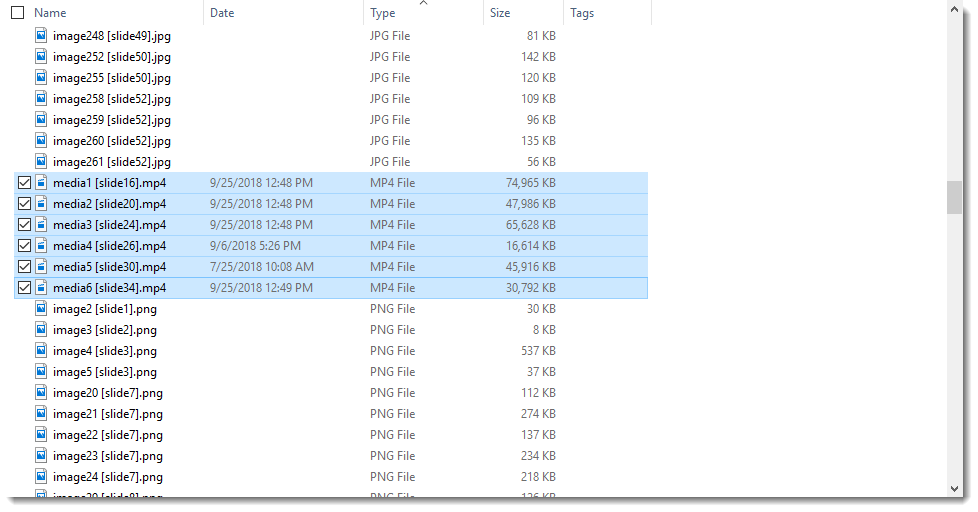
3. The presentation I extracted media from had 306 embedded media items. This includes pngs, jpgs and emfs, as well as audio and video files. I wanted to pull the embedded videos, and by sorting by type I can easily do so. YouTools also adds the slide number to the file name which is super helpful!
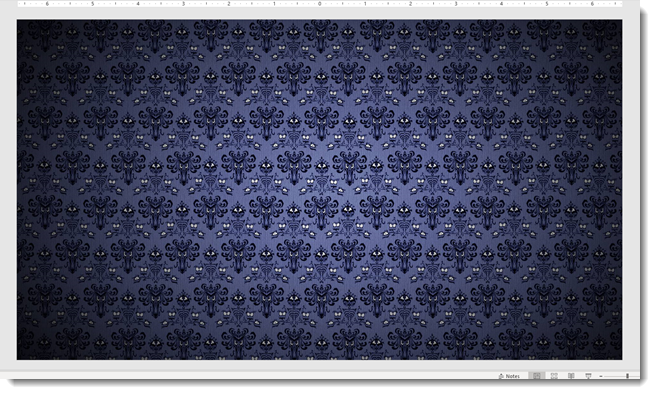
Fill Slide Tool:
1. Filling the slide with a shape or picture is now easier than ever. With your shape or image selected, click the FILL SLIDE on the YouTools ribbon
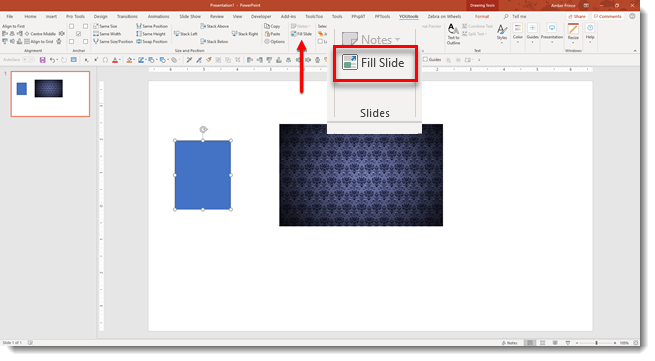
2. The slide will now have the shape sized to the slide perfectly
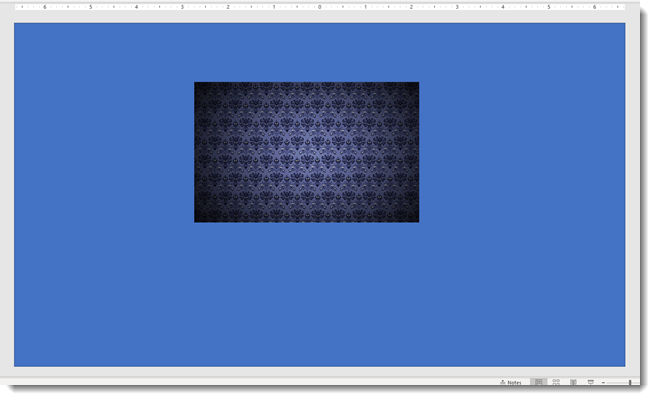
3. You can do the same for images. Select the image and hit FILL SLIDE (note: if the proportions of the image are different than the slide, you will need to manually adjust the crop of the image to fix any distortion)
Guides:
1. The guides tools are amazing, and one of the most innovative parts of YouTools.
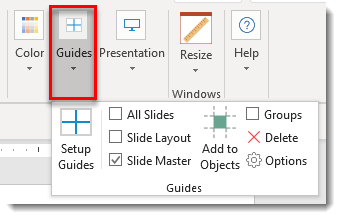
2. When you click on SETUP GUIDES, a new menu pops up.
- Change the units of measurement: inches, centimeters, and points
- Set how many COLUMNS and ROWS needed
- Set GUTTER size for each
- Even better, you can set slide MARGINS and the rows and columns will adjust. For example, set 1.5” margin at the top for the title area,.5” at the bottom for the footer area, and .25” on the left and right, the rows and columns will be perfectly set in the safe space of the presentation!
- You can apply the guidelines to ALL SLIDES in the presentation, the SLIDE LAYOUT (in the master so all slides using this same layout will have the guides), or the SLIDE MASTER (all slides will have the same guides). You can also delete guides this way too
- When preview is checked, you will see the guides adjust based on input measurements in real time
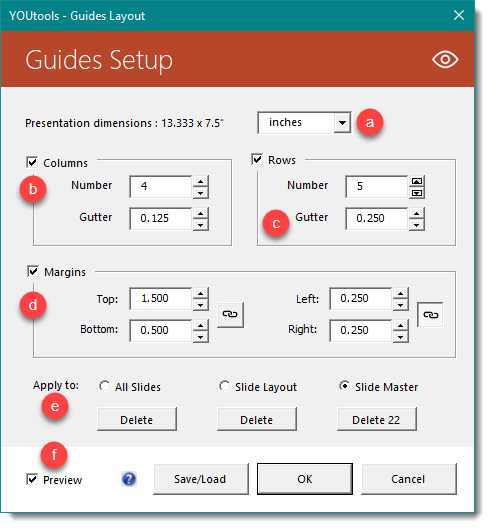
3. Here is what the guide set looks like from the measurements above:

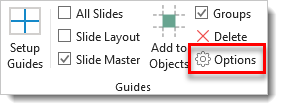
4. Within the GUIDE TOOL, you can also change the color of the guides by clicking OPTIONS
5. Here are the default guide colors in PPT. Colors for SLIDES, LAYOUTS, and MASTER guide lines are shown in hexadecimal code
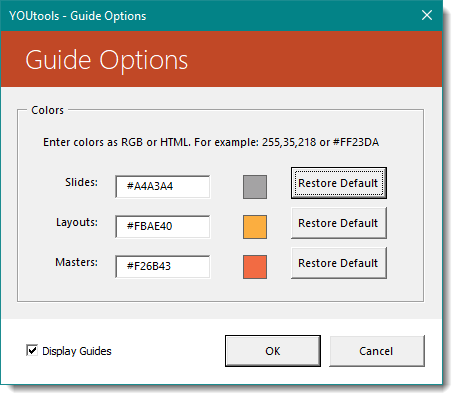
6. You can change to any other hex code. But if you change your mind, click RESTORE DEFAULT to go back the PPT default colors.

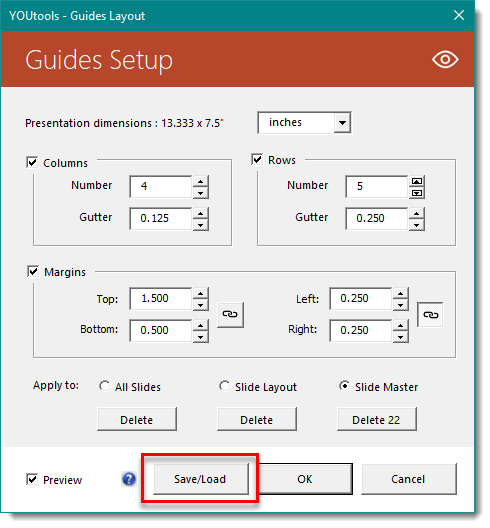
7. Another nifty feature is the ability to SAVE and LOAD guides. This only works for SLIDE LAYOUTS, but can come in quite handy for adding guidelines you might use often to other presentations. You can save up to 10 sets of guides
8. Last but not least, you can add guides based on shapes
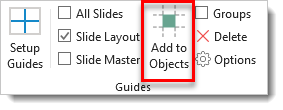
9. Click the shape(s) and click ADD TO OBJECTS. If you want to use a group of objects, click the checkbox next to GROUPS. Here are guides that I added using the shapes below. The guides are added to each edge of the shapes bounding box

10. Another one of my favorite features is the GUIDE ALIGNMENT ability. Say you have 5 columns with a .25” margin on the left and right. You can quickly line up any object to either the guideline or the center between two guidelines. Here’s how to do it:
- Select the shape
- Holding ALT on the keyboard, click PowerPoint’s ALIGN CENTER tool until the shape moves to the desired position
- Here’s a video to demonstrate:
![]()
[KGVID]https://thepowerpointblog.com/wp-content/uploads/2018/10/unnamed-file.mp4[/KGVID]
Text To Outline Tool:
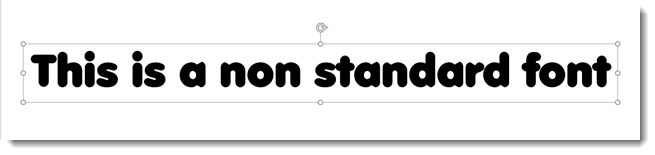
1. Converting text using a custom font to a shape is a practice many of us presentation designers do daily. With YouTools, its now a matter of a couple clicks and the task is accomplished.
2. Select your text box
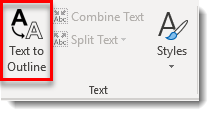
3. Click TEXT TO OUTLINE on the YouTools ribbon
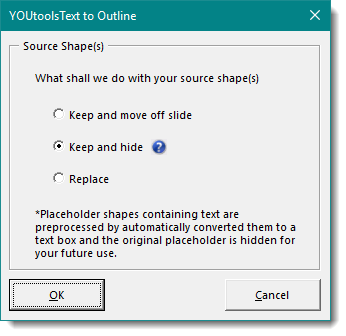
4. An option box will pop up asking a couple things
- Keep the original text box and move off the slide: Keeps the text box but moves it up above the slide. Mostly an okay practice, sometimes if the standard font PPT uses to replace a not-found custom font might be larger and bleed into the slide are
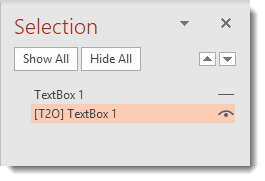
- Keep and hide: Best practice! Keeps the original editable text box with custom font and hides it in the PPT selection pane. The text box will always be available if future edits are needed, but its hidden and will never interfere with slide content should the custom font not be loaded
- Replace: Replaces the text box and just converts to outline. If you’re sure you won’t ever need to edit the text again, then use this. (It’s usually always safer to just keep the original textbox)
5. I chose to KEEP AND HIDE, clicked OK, and now I have my text outlined

6. And my original editable text box is safely hidden should I need in the future
7. With the font outlined, I can apply any PPT effect to make it special!

Again, so many things are well thought out and major time improvements to production work in PowerPoint. We did not include the align and stack tools, the very cool Join Shapes tools, the vastly improved theme color scheme setup tools and really only a fraction of what can be done with the Guides tools – there is a lot there for only $30! Get more info and download here.
Troy @ TLC (and thanks to Amber for compiling and writing up the examples)