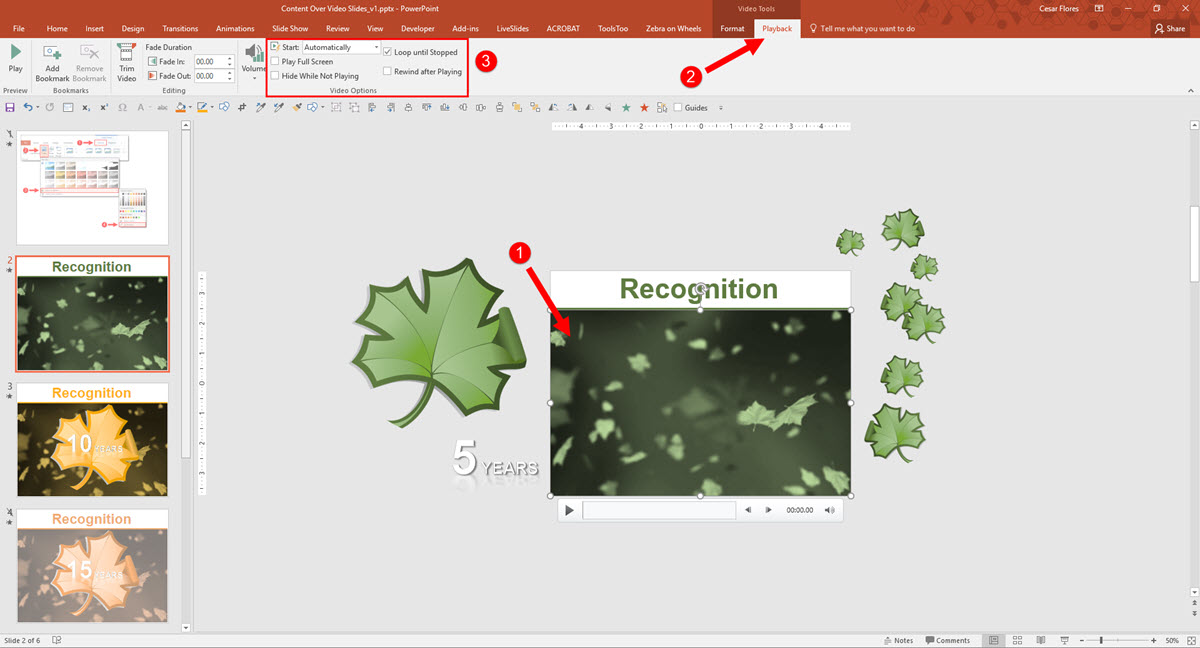
Slide Background Color
Changing a presentation’s background color is made simpler with this quick shortcut. When changing slide background color, you’ll want to make sure you change it on the master layout, that way your changes will be applied to all slides, new and old. Normally, you could achieve this by going to View>Slide Master and that would open the targeted master layout.
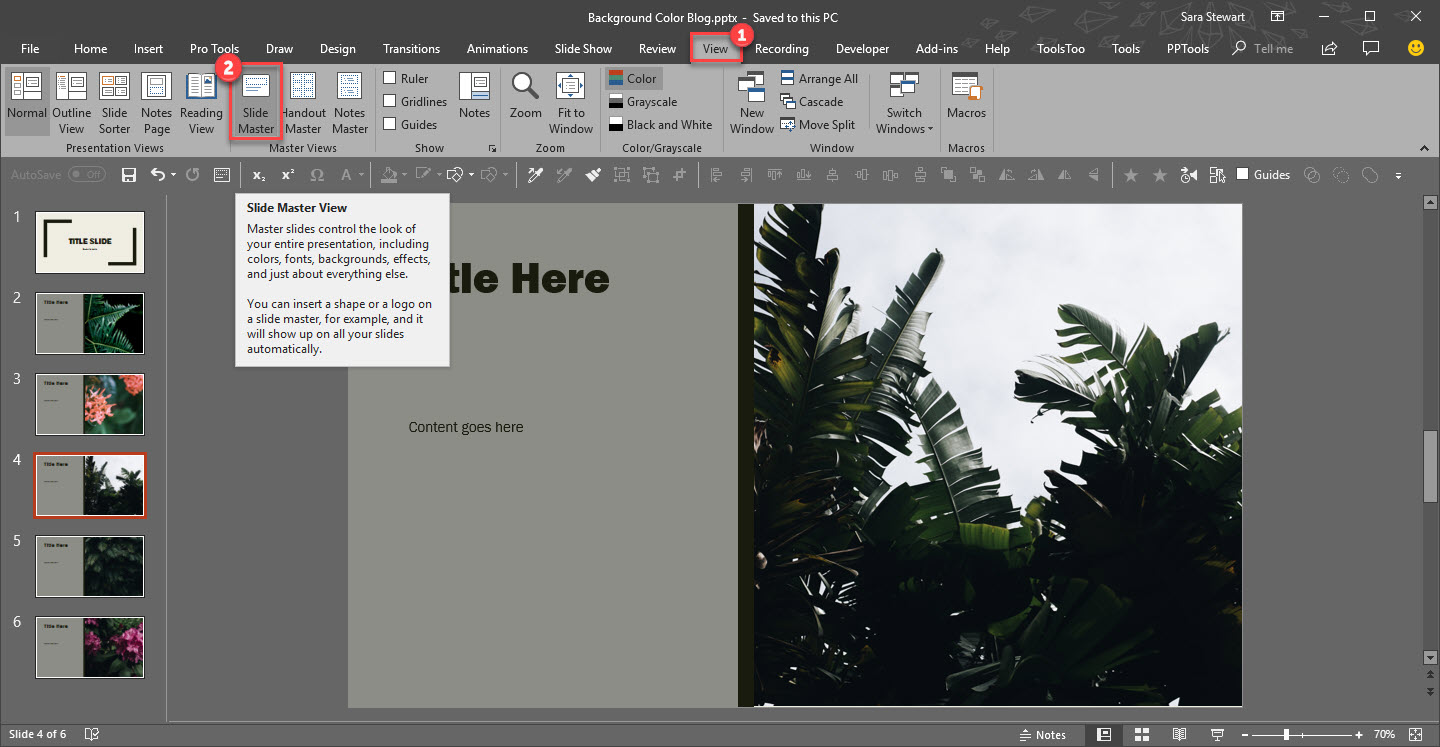
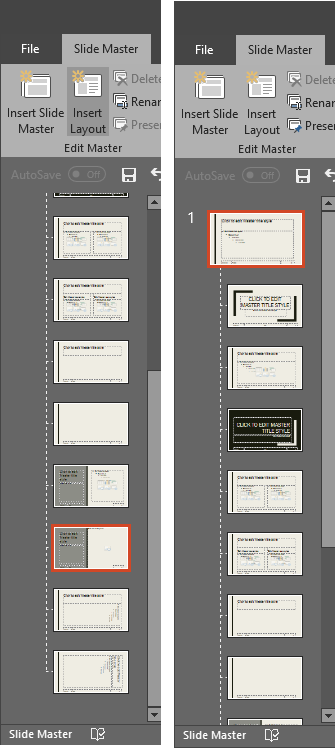
However, if you change the background on this slide, it will not apply to the template. Instead, you need update the background color on the Master slide at the top.
A quick and easy shortcut to achieve this is to simply hold SHIFT + DOUBLE-CLICK on the NORMAL VIEW icon in the lower right bar.
![]()
This is will automatically open the master to the top slide where you can quickly update all slide backgrounds.
[KGVID]https://thepowerpointblog.com/wp-content/uploads/2018/10/unnamed-file-3.mp4[/KGVID]