text

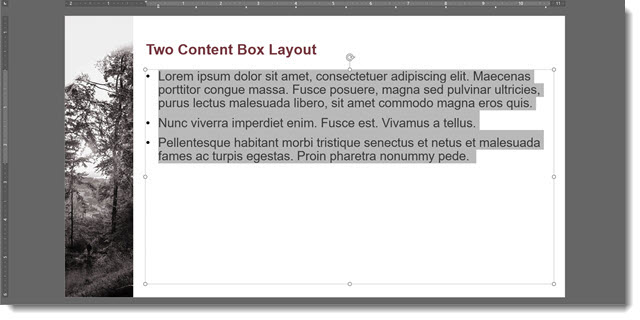
Fire & Ice Text (Gradient)

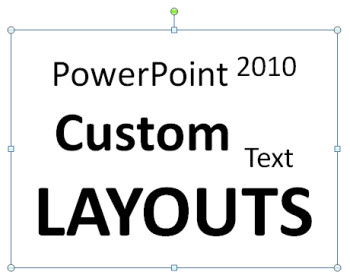
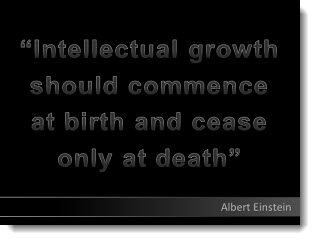
Text does not need to be a solid color and boring! As example, here are the two words Amber started with for this mini tutorial series.

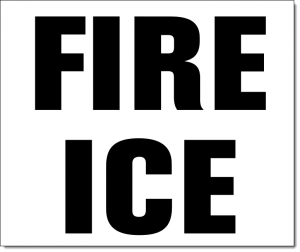
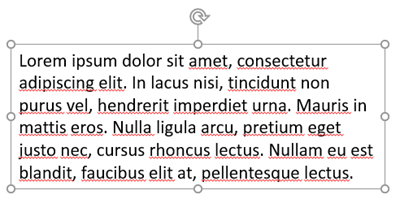
Editable PowerPoint text does not need to be a solid color fill. Gradients take a bit of work, but can a great way to make text more visually interesting. And, this text is still editable! Because this text uses PowerPoint gradients, they can be applied to any other text with the Format Painter tool (to copy the style from one text box to another).

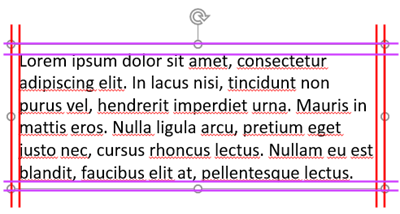
Each word is a separate text box and each has its own gradient fill styling. Here’s how the gradient was created:
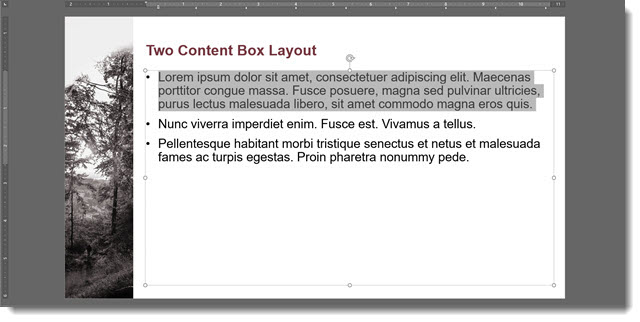
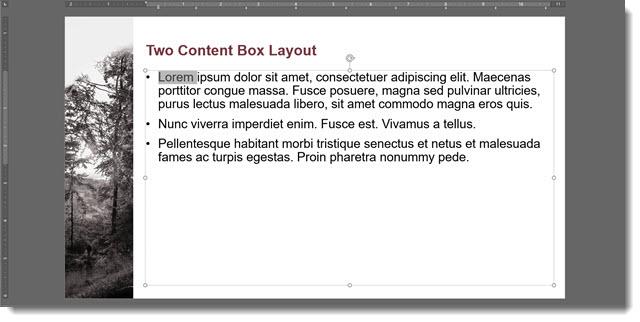
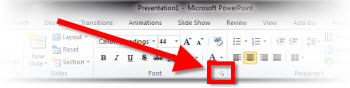
  • Select the text
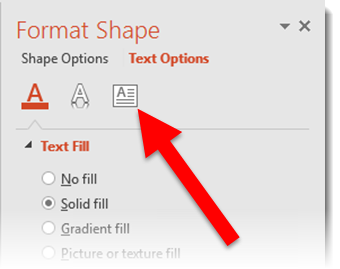
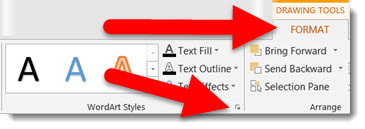
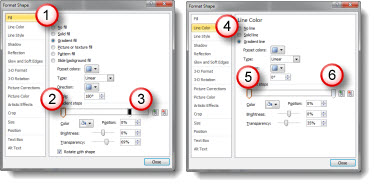
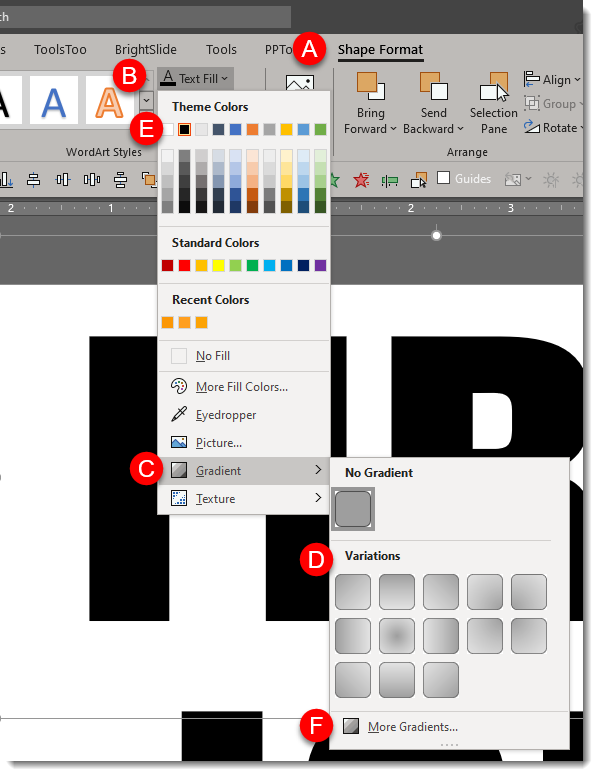
  • Under SHAPE FORMAT (A) on the ribbon, click the down carrot under TEXT FILL (B).
  • Mouse over GRADIENT (C) to show the gradient fly out menu and select the gradient you want (D).
  • These first options are created using the text fill the text is set to, this example being black (E). To see more PowerPoint created variations, click the MORE GRADIENTS (F) at the bottom of the fly out menu.


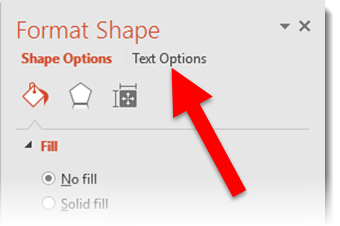
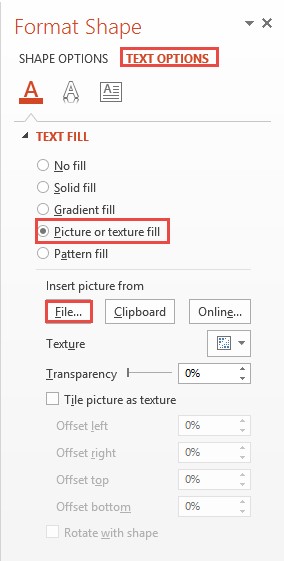
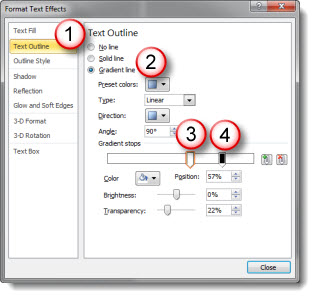
Click MORE GRADIENTS to see the FORMAT SHAPE pane. This is where we really have control to create custom gradients. The FIRE gradient is 5 gradient stops (eg. colors) set at an angle:

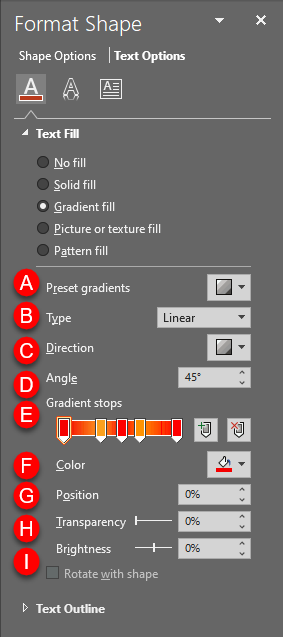
(A) PRESET GRADIENTS: These are gradients created using the 6 theme colors set in your file.

(B) TYPE: Change the type of gradient:
1. LINEAR: horizontal, vertical, diagonal
2. RADIAL: circular gradient starting from the center or from any of the 4 corners
3. RECTANGULAR: rectangular gradient starting from the center or any of the 4 corners
4. PATH: creates gradient in the shape of the object its filling

C. DIRECTION: Change the direction of LINEAR or RADIAL gradients

D. ANGLE: Change the angle of the direction of the gradient

E. GRADIENT STOPS: set the color points of the gradient. You can ADD (click anywhere on the gradient) or SUBTRACT (click and drag the gradient stop off) points and set the color of each.

F. COLOR: select the color for a gradient stop.

G. POSITION: you can fine tune the position of a gradient stop.

H. TRANSPARENCY: set transparency of a gradient stop.

I. BRIGHTNESS: set brightness of a gradient stop.


Download the FIRE & ICE gradient fill sample slide Here.

Troy @ TLC 

By |2020-01-04T17:18:10-07:00January 6th, 2020|Tutorial|

Select Text with Keyboard Shortcut

Microsoft has some great text selection tools. Double click and the full word is selected. Three clicks and a paragraph is selected. Click and drag and the selection automatically jumps in full word intervals. What many presentation designers do not have is the keyboard equivalents to these text selection options – they are amazing for speeding up design time!

1. Select ALL text in a placeholder.

  • Click inside the text box, anywhere, and CTRL + A to select all (okay, most everyone knows this one)

select text 1

2. Select a paragraph

  • Click inside the text box, at the beginning of the paragraph, and CTRL + Shift + Down Arrow a full paragraph is highlighted.

select text 2

3. Select individual words 

  • Click inside the text box, at the beginning of word to select, and CTRL + Shift + Right Arrow to select that word.
  • Click Right Arrow again to select the next word – repeat to select as many words needed

select text 3

select text 4

Okay, now it’s time to go edit slides more efficiently!

Troy @ TLC


By |2018-06-09T10:08:37-07:00June 13th, 2018|Tutorial|

Text Aliasing and Anti-Aliasing

Picking a font style is important. Should it be a “safe” font, a professional font, a bold font, etc.? Any font style needs to display well and anti-aliasing is a big part of that. So, what is anti-aliasing?

antialiasing-2

The simple description of anti-aliasing is that it makes fonts display with smooth curves and angles, not jagged, low res looking edges. So if “anti-aliased ” is smooth, the opposite, hard edged fonts would make sense to be called “aliased.” However, the better term is “bit-mapped.”

Here’s a visual showing Aliased and Anti-Aliased Text:

Aliased (Jagged, Hard Edges):

text_03

Anti-Aliased (Smooth Edges):

text_07


The good news is PowerPoint applies anti-aliasing to text (which has not always been the case). But it is applied when in slide show. Objects and text may appear to have jagged edges (aliased) when editing. Anti-aliasing is also applied when printing, but through a different ‘engine’ than when presented. So, when running as a slideshow, everything is smooth, when printing, everything is (almost always smooth), when editing, it may not look as smooth.

In addition, Microsoft Windows OS has its own term and feature for anti-aliasing called ClearType. ClearType is basically Microsoft’s technology for doing anti-aliasing and making fonts have nice smooth curves and angles. ClearType is currently used by web browsers (all web browsers) and the operating system dialogs. But not Microsoft Office at this time.

On PowerPoint, when using the PowerPoint web app it is viewed through a browser for editing and slideshow. So, all text is anti-aliased in both views because the Microsoft ClearType works with all major web browsers.

So, should you be worried about anti-aliasing or smooth fonts with PowerPoint? Yes, it is a concern, but with Windows 10 and PowerPoint 2007-2010-2013-2016 all fonts display anti-aliased in slideshow – and I can attest to being happy with text that is projected 20′ tall is HD is smooth and looks good (with the caveat that there is room for it to be better!).


-Troy @ TLC


By |2016-08-10T08:14:06-07:00May 13th, 2016|Resource/Misc|

PowerPoint Text Box Cell Padding (Margins)

One great feature of PowerPoint is knowing that every text box is basically a mini Word document which means adjusting the cell padding can be done quickly and easily.

Cell padding-1

By default, all text is inset a small amount in each text box. Here is an example from the Microsoft PowerPoint 2016 default template. There is .1″ all the way around.

Cell padding-2

The cell padding, or inset, is easily customized. Select a text box, right-click and select Format Shape.

Cell padding-3

In the Formatting text pane, click the Text Options.

Cell padding-4

Click the text box icon.

Cell padding-5

Adjust the Left/Right/Top/Bottom margins exactly as needed.

Cell padding-6

Here is the same text box with a 0″ margin all the way around so the text is right next to the placeholder now.

Cell padding-7

And here is a callout bar with the text set to start 1″ in from the left edge.

Cell padding-8

Just some formatting ideas for your next presentation. Otherwise, you are stuck wondering why the text in a shape is not in the position it should be.


– Troy@TLC


By |2016-08-10T08:25:42-07:00April 6th, 2016|Tutorial|

Design Idea – Image Fill Text (Part 1)

The previous post walked through how to “knock out” text from a shape. One negative to that technique is the text is no longer editable. In this post, we are adding a visual styling to text AND keeping it editable. All text can have a color fill, gradient fill, texture fill or PHOTO/IMAGE fill.

Here is my sample text slide, one a black background to help the fill options display.

Image Fill Text 1

1. Select the text to fill (*Tip: It does not have to be all of the text in a text box, select just the text you want – this can be a great solution for adding accent focus on specific text).

2. Go to FORMAT >> WORDART STYLES section >> FORMAT TEXT EFFECTS to open the FORMAT SHAPE pane to the text formatting tab.

Image Fill Text6

3a. Select PICTURE OR TEXTURE FILL.

Image Fill Text 8

3b. This defaults to filling text with the first texture in the Microsoft library.

Image Fill Text 2

4. Click FILE.

5. Select an image to use as the fill – I am using an abstract image.

Image Fill Text 12

And here is the stylized text, which is editable (change the font, size, text, etc.) and can have any PowerPoint styling options applied (drop shadow, bevel, glow, etc.).

Image Fill Text 3


– Troy @ TLC


By |2016-08-10T09:09:38-07:00February 18th, 2015|Resource/Misc, Tutorial|

Themed Lorum Ipsum Text! Pirate – Corporate – Coffee – and More!!

Lorum Ipsum, or Greeked Text, is placeholder text that has no meaning. Its purpose is to demonstrate how text will look in a layout, in a specific font, size and color. It is also, very helpful for PowerPoint templates and foundation presentations.

Traditional Lorum Ipsum text is a nonsensical latin (created by a 1st century Latin text by Cicero), and looks like this:

Lorem ipsum dolor sit amet, consectetur adipiscing elit. In lacus nisi, tincidunt non purus vel, hendrerit imperdiet urna. Mauris in mattis eros. Nulla ligula arcu, pretium eget justo nec, cursus rhoncus lectus. Nullam eu est blandit, faucibus elit at, pellentesque lectus. Maecenas a vulputate mauris. Donec quis dictum metus. Phasellus at nisi tempus mauris sollicitudin fermentum. Interdum et malesuada fames ac ante ipsum primis in faucibus.

For the above text I used the Lorem Ipsum text generator at lipsum.com (see this January 2007 post).

But that can be boring and TLC is a creative company. So we were very excited about discovering “Meet the Ipsums!” MeetTheIpsums.com is a text generator for dozens of themed Lorum Ipsum text, such as coffee ipsum, cat ipsum, Zombie Ipsum, Canada Ipsum and more!

Here is a personal favorite – Pirate ipsum:

Belaying pin chase coxswain list transom gally pillage broadside furl capstan. Hail-shot aft fore Davy Jones’ Locker careen killick mutiny weigh anchor bilge rat Nelsons folly. Chandler poop deck Blimey six pounders Buccaneer clap of thunder ye Barbary Coast keel Gold Road. Cable doubloon avast grapple interloper hang the jib boom heave down Sea Legs barkadeer.

Even better – not from a productivity vantage, but definitely better for fun and amusement – is that each Ipsum webpage is themed. Here is the interface for generating the above Pirate Ipsum text:

Themed Lorum Ipsum Text

Next time you have a project that needs themed Lorum Ipsum text, check out MeetTheIpsums.com!

– Troy @ TLC

By |2016-08-10T10:04:39-07:00December 2nd, 2013|Resource/Misc, Software/Add-Ins|

Baseline Shift/Offset Any Text, Any Amount

If you need a custom super-script registration mark, or special text layout, using the OFFSET option can be the solution. Select text to adjust, open font dialog, and customize the Offset box.

Here is the standard super-scripted registration mark and a customized registration:

Another use of the text offset can be custom layouts such as this:

Note: I am not saying this is a good layout idea, just that it is possible all within one text box.

– Troy @ TLC

By |2016-08-16T10:32:10-07:00January 25th, 2011|Personal, Tutorial|

Baseline Shift = “Offset”

When a super-script or sub-script is applied, there is actually an automated adjustment to PowerPoint’s OFFSET function. To access, highlight text and click the arrow on the bottom right of the FONT group to launch the FONT DIALOG BOX.

Super-script text is a 30% baseline shift/offset and sub-script text is a -30% baseline shift/offset.

– Troy @ TLC

By |2016-08-16T10:32:59-07:00January 21st, 2011|Personal, Tutorial|

What is Baseline Shift?

Baseline shift = “To move a selected character up or down relative to the baseline/level of the surrounding text.

Baseline shift is an essential typography fine tuning function. The most common use of it in PowerPoint is when a super-script or sub-script is applied to text. For example, here is my sample text:

After applying the super-script function, the number 1 is raised up higher than the text next to it – the baseline has been shifted.

– Troy @ TLC

By |2016-08-16T10:36:01-07:00January 19th, 2011|Personal, Tutorial|

Gradients for Custom Text

Final gradient sample (for this series). In this slide the gradient fill is used for the text outline, the box outline and the box fill.

One of the really great features is the ability to make lines gradient. On the text close-up it is easier to see the outline is opaque white at the top and gradients into a semi-transparent grey.

1. Select text, open the Format Text dialog and choose TEXT OUTLINE
2. Change Text Outline to GRADIENT LINE
3. Add a white gradient stop. I moved mine to the right to extend the amount of solid white at the top of each letter
4. Add a 2nd stop that is black and semi-transparent (or use an opaque grey for same effect)

For the lower box I combined a gradient fill and a gradient outline. This is great to be able to create a single element with custom design and text all in one element.

For the box fill, the gradient is right-to-left:
1. Choose FILL and angle is 180
2. White stop that is slightly semi-transparent
3. Black stop that is transparent

For the box outline, the gradient is left-to-right:
4. Choose LINE COLOR and GRADIENT FILL with angle 0
5. White stop that is slightly semi-transparent
6. Black stop that is transparent

Also, I set the right indent on the TEXT BOX section to .3 to inset the text equally on all slides.

Download the Gradient Text slide here (34k) .

– Troy @ TLC

By |2016-08-16T11:01:47-07:00October 15th, 2010|Tutorial|
Go to Top