shapes

“New” Shape Styles Presets

So why the quotes around “new” for this post’s title? Well, this is not really a new feature in PowerPoint, but it has come up on conversations enough recently for me to realize this addition to shape styling that has been in PowerPoint since January of this year (maybe earlier), has not been noticed by everyone.

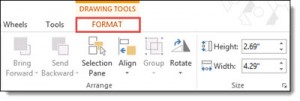
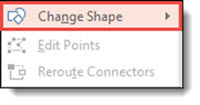
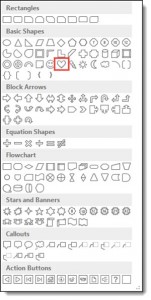
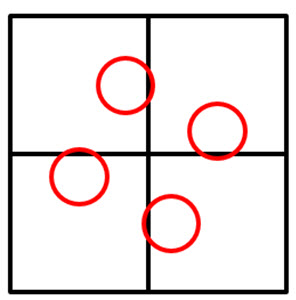
PowerPoint Format Presets
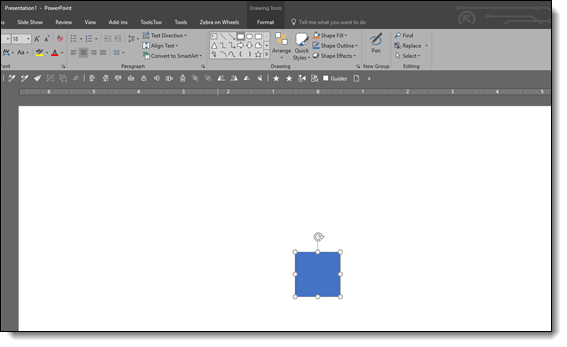
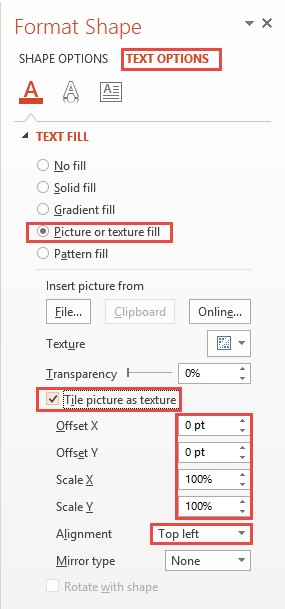
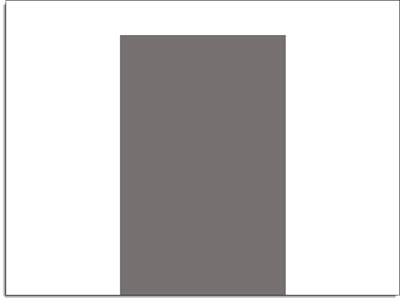
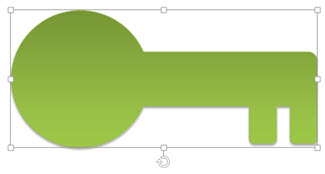
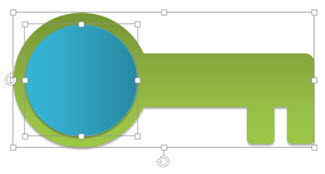
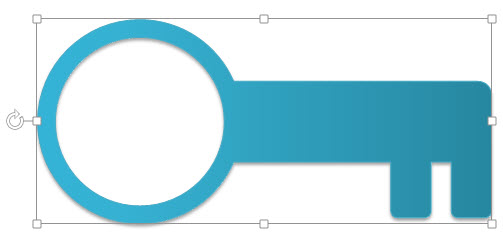
Shape styles are preset formatting options for PPT vector shapes. Color options are based on the template color scheme, accents 1-6 and either the light or dark background style. When content is moved to a new presentation, the colors auto update to that presentation color scheme. In the latest roll out of updates, Microsoft expanded to include a new level of these styles called “presets.”

New Shape Styles Presets 1

New Shape Styles Presets 2

New Shape Styles Presets 3

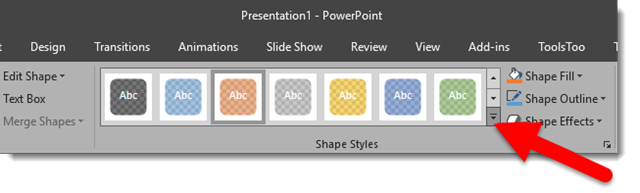
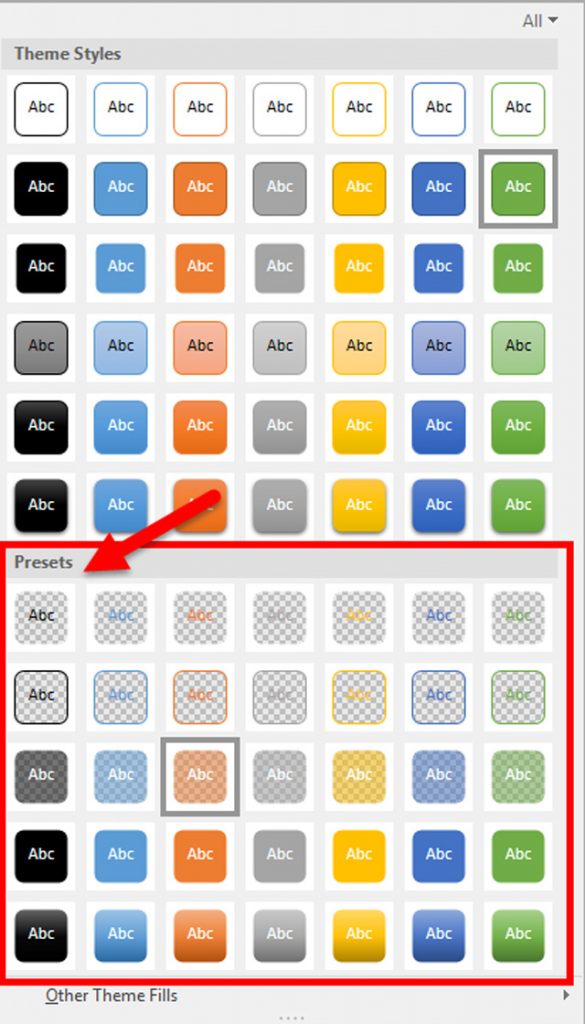
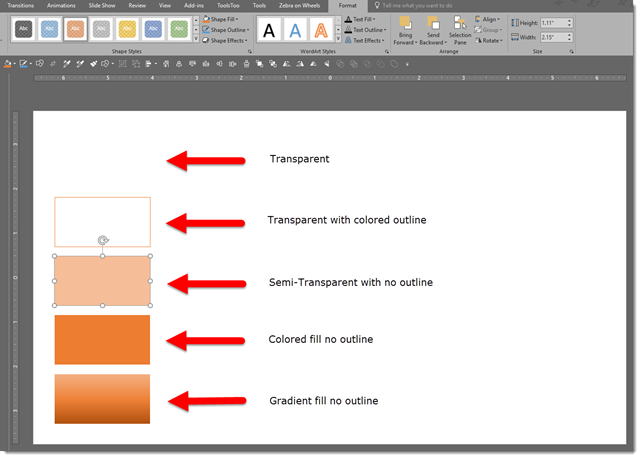
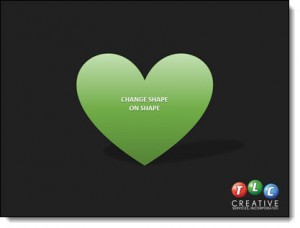
These new shape styles presets include five styles: transparent, transparent with colored outline, semi-transparent with no outline, colored fill with no outline, and lastly, gradient fill with no outline. These styles can quickly be applied to any shape with a click of a button. Happy stylizing!


-Troy @ TLC

By |2019-12-08T08:41:17-07:00December 12th, 2019|PowerPoint|

Want A Perfect PowerPoint Circle, Square, Triangle?

Perfect shape 1

Sometimes just knowing a hack can save a lot of time. So this is one of those tips included in our TLC Creative PowerPoint training programs where someone always exclaims “Really!!” The tip is how to immediately add a perfect shape (same on all sides), ie. a circle, square or triangle. The solution is so simple, there is nothing complex to forget. Ready,

Click the desired shape in the shapes gallery

Perfect shape 2

Click on the slide. Note: just a simple click, no click and drag, no modifier keys, nothing, just click on the slide.

Perfect shape 3

Done! A perfect, equal sided, square, circle, triangle, etc. is added to the slide


And the shortcut to the shortcut!

Hold down the CTRL key and click on desired shape in the shapes gallery

Perfect shape 5

Perfect symmetrical shape is automatically added to the slide!

Perfect shape 6

Troy @ TLC

By |2017-10-20T07:34:14-07:00December 12th, 2017|PowerPoint, Resource/Misc|

PowerPoint Change Shape

All PPT shapes are vector (meaning they can be resized with no quality loss and are very small in file size). One great feature of PowerPoint (that has been in many versions but hasn’t been discovered by everyone), is the ability to change shape to any other shape – AND maintain all format styling and animation!

Here is an example, a rectangle with gradient fill, text styling and cast shadow.

1. Select any shape on a slide.

Change Shape 1

2. Go to the FORMAT TAB.

Change Shape 9

3. Click the EDIT SHAPE drop down menu.

Change Shape 8

4. Select the CHANGE SHAPE menu

Change Shape 7

5. From this PPT shape gallery, select the new desired shape – for this example, we are choosing the heart shape.

Change Shape 11

6. The rectangle changes to a heart shape – and the color file, drop shadow, gradient, text font-color-styling and animation are all still there!

Change Shape 2

-Troy @ TLC

By |2016-09-20T09:50:40-07:00November 18th, 2016|PowerPoint, Tutorial|

Crop to Aspect Ratio & Shape in PowerPoint

When PowerPoint added image crop capabilities, the need to rely on Photoshop (or other external image editing programs) was amazingly reduced. The Image Crop tool has some great advanced options that are not well known, or used nearly enough. So, here is a demo of two great tools hidden in PowerPoint’s Image Crop tool.

Here is our sample slide and original image, a tall rectangle:

IMAGE CROP Page_1

If the goal is to use a perfect square image, it is only 3 clicks away:

  1. Select the image
  2. Go to FORMAT > CROP > ASPECT RATIO
  3. Select 1:1 and the image is cropped to a perfect square (1:1 aspect ratio) – without the image being distorted
  4. The bonus click would be moving the image within the crop to adjust what is visible

IMAGE CROP Page_6

  • 3 clicks and our test slide image now looks like this:

IMAGE CROP Page_2

The same can be used for the common 4×3 and 16×9 aspect ratios and several other options!

Another great, but not well known, option of the Image Crop tool is changing the shape of any image. All of the shapes dialog, used to add a PowerPoint shape (rectangle, circle, trapezoid, etc.) are available to images too.

  1. Select the image
  2. Go to FORMAT > CROP > CROP TO SHAPE
  3. Select any available PowerPoint shape

image crop 10

  • 3 clicks and the image can be an oval or trapezoid:

IMAGE CROP Page_4

IMAGE CROP Page_5

-Troy @ TLC

By |2016-08-10T08:23:47-07:00April 15th, 2016|Tutorial|

Crop to Shape in PowerPoint

Images within PowerPoint can be formatted to have many different effects.  In addition, a formatted image can also be cropped to any shape without affecting any existing formatting using the Crop to Shape tool.

1. Begin with an image that has been formatted within PPT.

Crop to shape-Photo_1

2. Select the image, and then click the drop down arrow below the Crop button under the Picture Tools Format tab.

Crop to shape-Photo_2

3. Hover over Crop to Shape to show the many different shapes available to crop the image to.

Crop to shape-Photo_3

4. Select the shape you wish to crop the image to.

Crop to shape-Photo_4

5. The image is now cropped to the new shape and all original formatting is still in place.  Here are some examples of the image cropped to different shapes:

Crop to shape-Photo_5Crop to shape-Photo_6

Crop to shape-Photo_7Crop to shape-Photo_8


-Troy @ TLC

By |2016-08-10T08:24:56-07:00April 11th, 2016|Tutorial|

Design Idea – Image Fill Text (Part 2)

As a continuation of the previous post, we are looking at some of the advanced image sizing and placement options for Image Fill Text. Thanks to TLC staff designer, Christie, for this step-by-step tutorial and examples.


We are working from the same sample text.

Image Fill Text 1

1. Select the text to add an image fill too.

2. Open the FORMAT SHAPE pane to the text options.

– How to…

3. Select TEXTURE OR PICTURE FILL.

4. Click FILE.

5. Select an image. For this example, I am using a nice flower image that has lots of vibrant colors.

Image Fill Text 0

6. The auto fill position and size do not really do much for the overall visual.

Image Fill Text 13

7. Select TILE PICTURE AS TEXTURE. This will allow access to additional formatting options.

Image Fill Text 9

8. Adjust the OFFSET (X and Y), SCALE (X and Y) and ALIGNMENT options to size and position the image for the best visual.

Image Fill Text 11

8. Now the image fill adds a lot of the pink tones and a bit of the green on the edges.

Image Fill Text 5


By |2016-08-10T09:09:17-07:00February 20th, 2015|Resource/Misc, Tutorial|

Slide Design Idea – Negative Space Text

A very nice design strategy used in print design is creating callouts and bold graphics with text created from the negative space.

Negative Space Text-7

This same style is easily created within PowerPoint for slide design. The above example image was created in PowerPoint 2013 – here is how (thanks to Michelle on the TLC Creative design team for this tutorial).

By using PowerPoint Combine Shapes tools (Combine, Intersect, Fragment, Subtract), the process is pretty easy.

1. Add a shape of your choice – I am using a tall vertical bar.

Negative Space Text-1

2. Add a separate text box with the text of your choice and format as desired – I am using “TLC Creative” in a typography styled stacked layout.

Negative Space Text-2

3. Select both objects – Note: Select the RECTANGLE first.

4. With both objects selected, go to FORMAT >> Merge Shapes >> Combine

Negative Space Text-3

Negative Space Text-4

5. The text is “cut out” of the rectangle. Note: The text is no longer editable as it has been converted to a custom vector shape.

Negativce Space Text-5

6. The shape is editable, like any other shape. All shaping styling options are available: fill color, gradient fill, transparency, bevel, drop shadow and more.

To really see the effects, place an image behind the new shape. A few examples:

Negative Space Text-11Negative Space Text-9NegSpaceText-8

By |2016-08-10T09:09:57-07:00February 16th, 2015|Resource/Misc, Tutorial|

Create Puzzle Pieces in PowerPoint

PowerPoint 2010 introduced the Merge Shapes toolset (trust me, it was hidden, but there). In PowerPoint 2013, the Merge Shapes toolset is much more accessible and refined. Here is an example we developed creating a much requested graphic element – puzzle pieces (download link below).


Here are the 4 puzzle pieces.

puzzle pieces-1

All are PowerPoint shapes


Here is a 4 step process to create your own:

1. Add 4 squares AND 4 small circles, so there are 8 shapes on the slide. COPY the 4 circles.

puzzle pieces-4

Select all shapes and subtract the circles from the squares to get these 4 shapes.

puzzle pieces-5

Paste in the 4 circles, so there are 8 shapes on the slide again.

puzzle pieces-6

Select all 8 shapes and use the Merge Shapes tool to unite the circles to adjacent squares to create the 4 puzzle pieces.

puzzle pieces-7

Each puzzle piece is a separate PowerPoint shape.

puzzle pieces-2

Each puzzle piece is a separate PowerPoint shape that can be resized, animated and recolored directly in PowerPoint.

puzzle pieces-9


Download a slide with the 4 puzzle pieces: PowerPoint_Puzzle_Pieces


– Troy @ TLC


By |2016-08-10T09:20:05-07:00November 6th, 2014|Resource/Misc, Tutorial|

Using PowerPoint’s Shape Merge (3)

Part 3 of the Shape Merge real-world, presentation design examples is a Key shape.

BATTERY
Goal is to create a single PowerPoint shape of a classic battery that can be stylized in any way using Point’s features.

Shape(s) 1 – two rounded corner rectangles to create the battery shape.

Shape 2 – the power/lighting shape is a standard shape in PowerPoint. Rotate, size a position on battery shape (color does not matter – we are going to delete it in the next step).

Shape 3 – select the battery shape, then the lightning bolt shape, use the Shape Merge SUBTRACT. Note: PowerPoint does some interesting things, in this example, the final shape is created visually in the correct orientation, but is actually rotated 326′.

– Troy @ TLC

By |2016-08-10T09:39:02-07:00May 28th, 2014|Tutorial|

Using PowerPoint’s Shape Merge (2)

Part of the Shape Merge real-world, presentation design examples is a Key shape.

KEY
Goal is to create a single PowerPoint shape that can be stylized with different fill colors for an analogy slide of the 3 corporate program “keys.”

Shape(s) 1 – design the key using a circle and set of rectangles.

Select all shapes and use the UNION tool to create a single shape.

Create a new circle, size and position over the handle part of the key.

Select the key 1st, then the circle and use the SUBTRACT tool to create the final, single shape Key (shadow added, fill changed).

– Troy @ TLC

By |2016-08-10T09:39:19-07:00May 26th, 2014|Tutorial|
Go to Top