motion path

Motion Path Tool PowerPoint Add-in

Shyam Pillai is an incredibly talented and knowledgeable coder. Fortunately for everyone that uses PowerPoint, he has shared some of his expertise by releasing a number of incredible add-ins over the years. If you use Motion Paths in PowerPoint, this FREE add-in is a must have.

The Motion Path Tools add-in shows up in its own tab called “Tools.” When you have a Motion Path applied to an object, this add-in will copy the object and place the copy at the end position of the path. This is very helpful for lots of animation and layout needs – and can save lots of time!

The add-in is found on a new TOOLS tab (where the developer has most of his add-ins install too).

Motion-Path-1

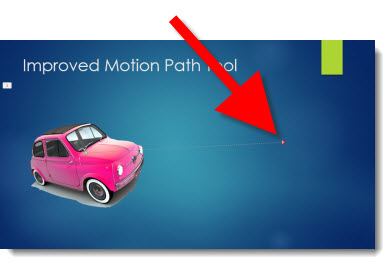
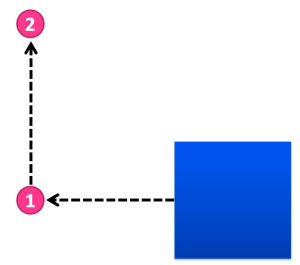
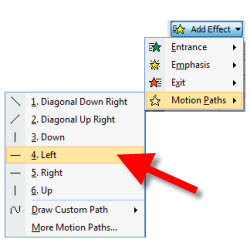
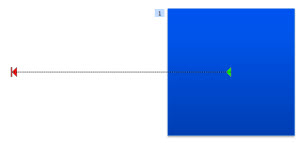
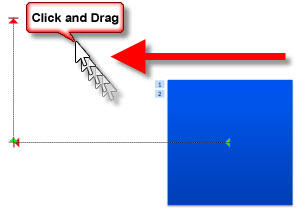
Here is a quick example slide with a motion path applied to the shape.

Motion-Path-2

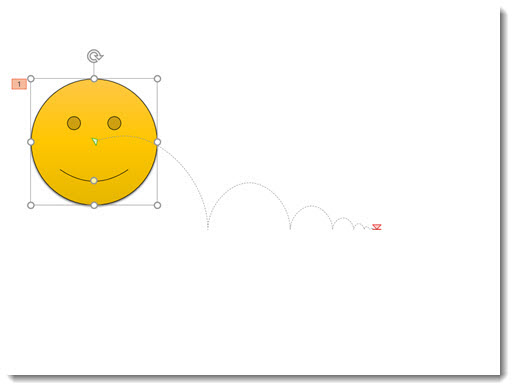
Starting with PowerPoint 2013, clicking on the shape while in the animation tab displays a ghosted version of the shape where the Motion Path ends – a very helpful improvement to PowerPoint!

Motion-Path-3

But in this example, what we really need is a copy of the shape in that end position.
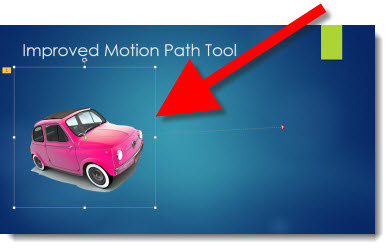
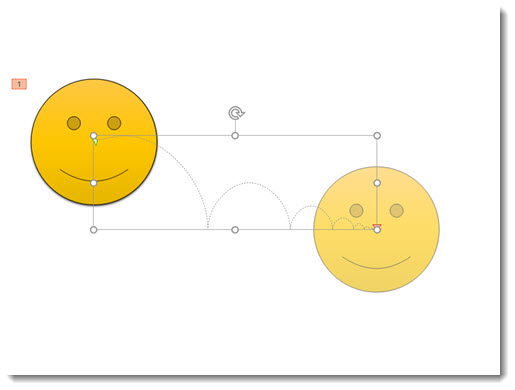
  • Select the shape
  • Go to TOOLS > END POSITION

Motion-Path-4

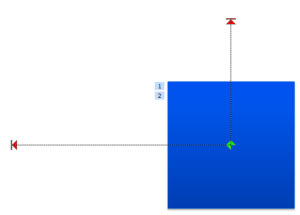
  • In the Motion Path Tools dialog, select the path you want to copy (this is pretty nifty because if you have multiple paths on a slide, they will all be listed here).

Motion-Path-5

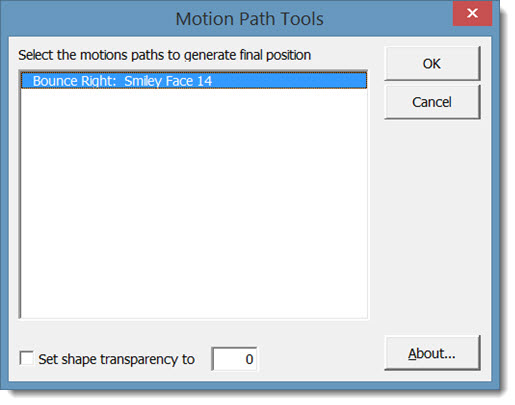
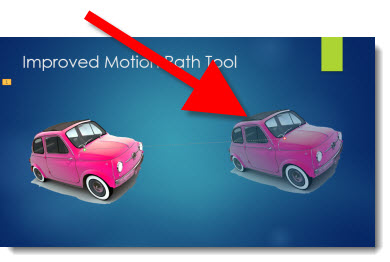
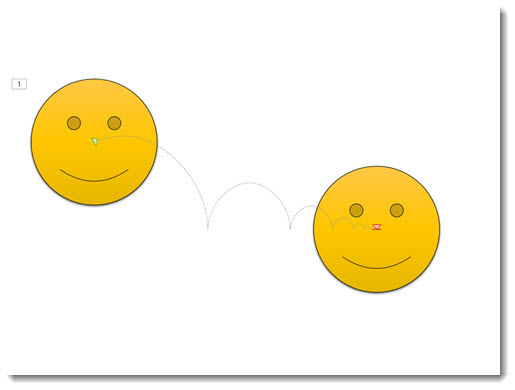
  • Click OK and the add-in instantly copies the original shape (or photo or anything the motion path is applied to) and places the copy at the end point of the path!

The most common design task is to copy that new shape, delete it from that slide, and paste it onto the next slide. Now the Motion Path animation happens, go to the next slide and the shape is seamlessly in the same place!

Get more details and download (this amazing add-in is FREE) here.


– Troy @ TLC

By |2016-08-10T08:01:19-07:00June 22nd, 2016|Software/Add-Ins|

PPT 2013 – Motion Paths

The Motion Path tool has the same features – ie. no changes to the type of motion paths or how they are executed. But there is a big change in the editing functionality.

Here is my slide with a Motion Path applied to the car image.

Selecting the object (the car image in this demo) is all the same functionality.

But when the actual Motion Path line is selected (ie. the dotted line), a ghosted (semi-transparent) image in the end position is seen!

This is a great function addition to this tool.

Note: If you work with Motion Paths, in any version of PPT, I highly recommend the free Motion Path Tools add-in here.

– Troy @ TLC

By |2016-08-16T09:14:23-07:00August 17th, 2012|PowerPoint|

How To Move An Object Seamlessly With Multiple Motion Paths

Motion path animations are a great feature, but using them beyond the basic can be confusing. For example, here is the slide from yesterday’s timeline sample:

The animation effect was great and the design of it relied on a lot of motion paths. This is a quick step-by-step example of moving an object to two positions with motion paths.

1. The blue box is the object to move. First to area “1” and then to area “2.”

2. Moving to area “1” is easy. Select the box and add a Motion Path to the left.

3. To move to area “2” is a bit more involved. First, add a Motion Path up. Note: It is added to the existing position. During slide show the box will move to the left, then jump back to the original location and move up – not the seamless effect wanted.

4. Select the “up” motion path. Note: You must be in the Animation tab to view motion paths and select them. Then, click and drag it over so it’s green start is exactly aligned with the first motion paths red end.

5. Done. Now, the box will seamlessly move to area “1” and then up to area “2.”

Download presentation with this sample animation (17K). Note: if your browser changes downloaded file to”.zip” rename to “.pptx”.

– Troy @ TLC

By |2016-08-16T10:30:15-07:00February 4th, 2011|Tutorial|
Go to Top