crop

Crop to Aspect Ratio & Shape in PowerPoint

When PowerPoint added image crop capabilities, the need to rely on Photoshop (or other external image editing programs) was amazingly reduced. The Image Crop tool has some great advanced options that are not well known, or used nearly enough. So, here is a demo of two great tools hidden in PowerPoint’s Image Crop tool.

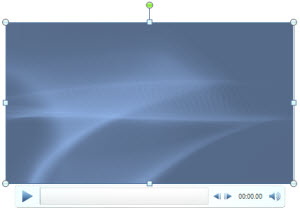
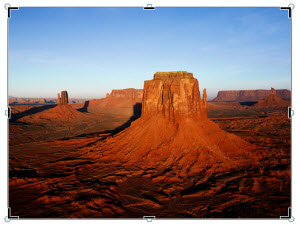
Here is our sample slide and original image, a tall rectangle:

IMAGE CROP Page_1

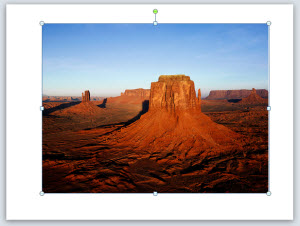
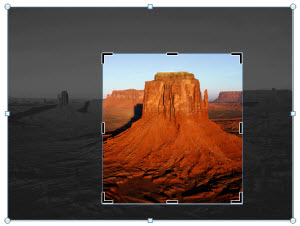
If the goal is to use a perfect square image, it is only 3 clicks away:
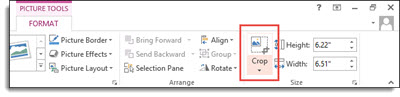
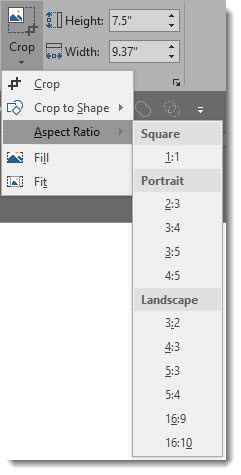
  1. Select the image
  2. Go to FORMAT > CROP > ASPECT RATIO
  3. Select 1:1 and the image is cropped to a perfect square (1:1 aspect ratio) – without the image being distorted
  4. The bonus click would be moving the image within the crop to adjust what is visible

IMAGE CROP Page_6

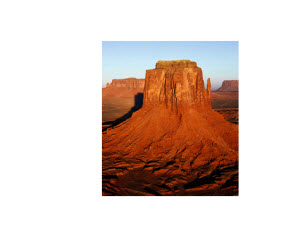
  • 3 clicks and our test slide image now looks like this:

IMAGE CROP Page_2

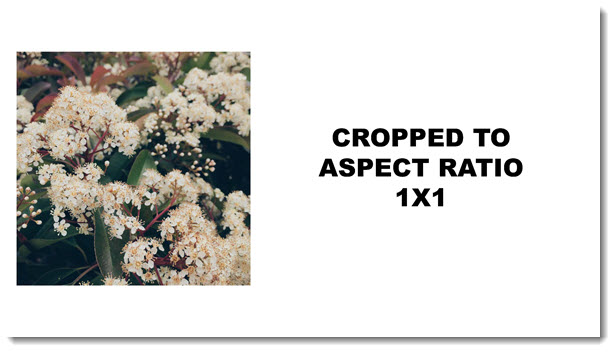
The same can be used for the common 4×3 and 16×9 aspect ratios and several other options!

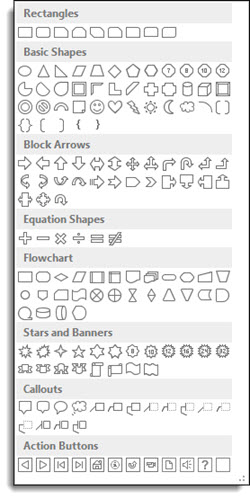
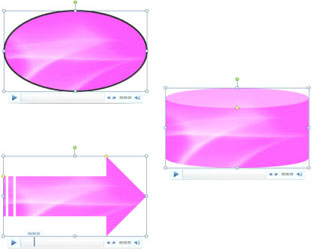
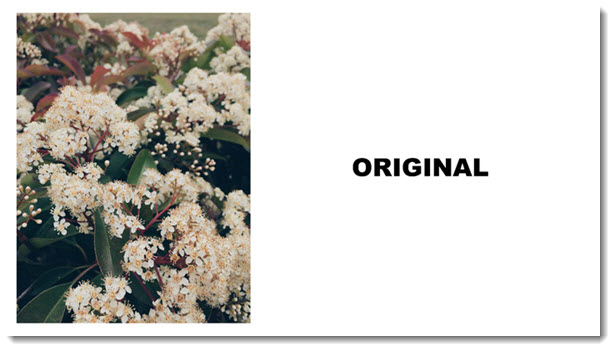
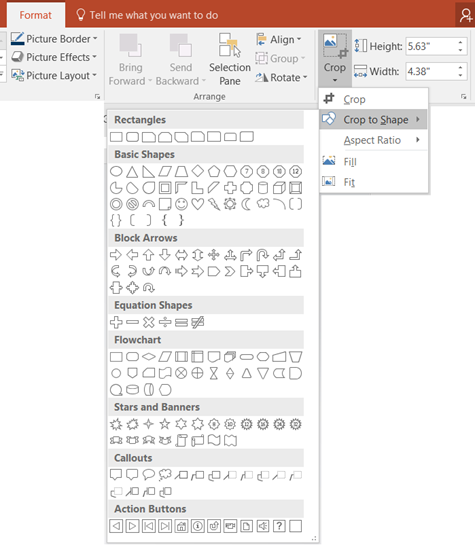
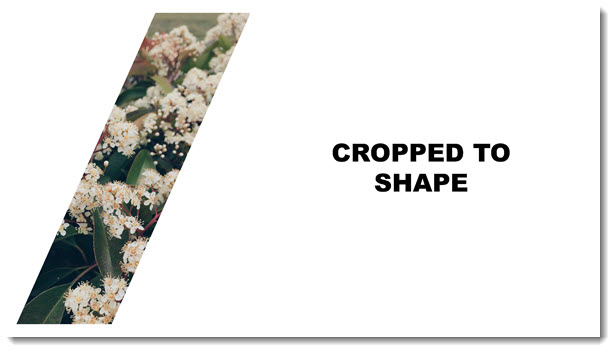
Another great, but not well known, option of the Image Crop tool is changing the shape of any image. All of the shapes dialog, used to add a PowerPoint shape (rectangle, circle, trapezoid, etc.) are available to images too.
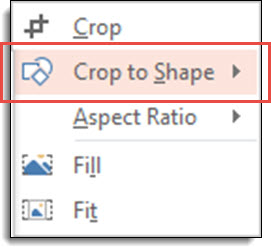
  1. Select the image
  2. Go to FORMAT > CROP > CROP TO SHAPE
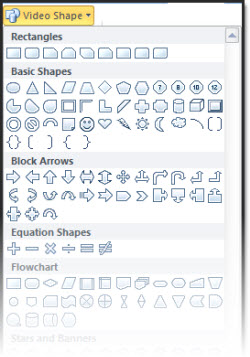
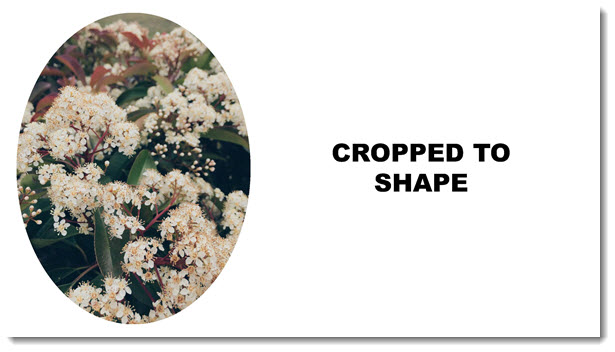
  3. Select any available PowerPoint shape

image crop 10

  • 3 clicks and the image can be an oval or trapezoid:

IMAGE CROP Page_4

IMAGE CROP Page_5

-Troy @ TLC

By |2016-08-10T08:23:47-07:00April 15th, 2016|Tutorial|

Crop to Shape in PowerPoint

Images within PowerPoint can be formatted to have many different effects.  In addition, a formatted image can also be cropped to any shape without affecting any existing formatting using the Crop to Shape tool.

1. Begin with an image that has been formatted within PPT.

Crop to shape-Photo_1

2. Select the image, and then click the drop down arrow below the Crop button under the Picture Tools Format tab.

Crop to shape-Photo_2

3. Hover over Crop to Shape to show the many different shapes available to crop the image to.

Crop to shape-Photo_3

4. Select the shape you wish to crop the image to.

Crop to shape-Photo_4

5. The image is now cropped to the new shape and all original formatting is still in place.  Here are some examples of the image cropped to different shapes:

Crop to shape-Photo_5Crop to shape-Photo_6

Crop to shape-Photo_7Crop to shape-Photo_8


-Troy @ TLC

By |2016-08-10T08:24:56-07:00April 11th, 2016|Tutorial|

#8 – Video Styles

There are so many great things when working with inserted video files in PPT 2010 this can only be an overview of some of the new tools and ways to work with them.

Here is my sample video, an abstract motion background loop:

With the movie selected the FORMAT tab offers all of the custom settings:

Videos are no longer contrained to rectangles! Any autoshape can contain a movie, just select the one you want:

Here is my sample movie set to playback in some custom shapes:

In addition the CROP TOOL works on videos now! So the next time you have a CNN news ticker running along the bottom of a video, just use the crop tool to remove it!

Almost any style options for shapes and images can be applied to videos. As example here is the RECOLOR pallet (note the pallet gives a live preview of the video in the thumbnails):

Here is the video changed to a blue from its original pink – just 3 clicks!

Here is the sample video with a lot of style settings applied:
– Drop shadow
– Gradient outline
– 3D perspective
– Reflection (that plays in synce with video!)

And the video played perfect, even with all of the custom styles applied.

– Troy @ TLC

By |2016-09-16T09:20:04-07:00November 18th, 2009|PowerPoint, Tutorial|

#7 – Image Crop Tool

When doing a PPT Training seminar I am always amazed that people are not aware of the image crop tool and how to use it. For PPT 2010 this simple, useful tool gets a lot better!

Here is my sample photo:

With the image selected I go to FORMAT >> CROP (okay, in reality I have added this to my QAT for faster access):

Now the image has the familiar black-dash handles for cropping – but it also has the standard dot handles…

When cropping an image the non-visible (cropped) portion of the image is still visible with a dark mask:

Here is the cropped image when I click off of it (deselect it). Only the cropped image is visible:

The cropping can be adjusted at any time, by selecting the image and crop tool. But the really great function is the ability to move the crop window to any position of the image! Think about setting up one image as a style guide cropped to a specific size. Duplicate the image, replace the image and move crop window to best crop the new image – but have the exact same size (visible) image.
Move Image within Crop Window

– Troy @ TLC

By |2016-09-16T09:20:56-07:00November 16th, 2009|PowerPoint, Tutorial|

Video Tutorial on PowerPoint Photo Crop Tool

For a recent client I supplied the PowerPoint template and a quick video tutorial on using PowerPoint’s Crop tool to provide some tips on how best to insert a series of photos. Now for your viewing pleasure I have uploaded that tutorial to one of my servers for all to enjoy!

Note: This was unscripted and created in just a few minutes, so it is definitely lacking much of the polished professional touches that go into real projects… Click here to view.

– Troy @ TLC

By |2016-05-13T15:19:43-07:00February 11th, 2007|Portfolio, Tutorial|
Go to Top