Podcast Released Today! Investing in Our Presentation Design Business
A new episode of The Presentation Podcast is available today! Troy, Nolan and Sandra talk through were they each put money into their design businesses; software, hardware, training, services, and the important items for a successful presentation design business.
Listen on Apple Podcasts, Stitcher, Google Play, Spotify and Soundcloud – just search for “Investing in Our Presentation Design Business” – or go direct to the episode page here: https://thepresentationpodcast.com/podcast/93
Fire & Ice Text (Gradient)
Text does not need to be a solid color and boring! As example, here are the two words Amber started with for this mini tutorial series.
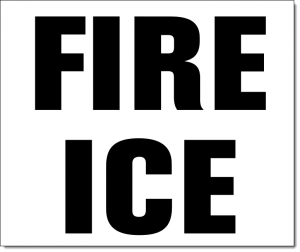
Editable PowerPoint text does not need to be a solid color fill. Gradients take a bit of work, but can a great way to make text more visually interesting. And, this text is still editable! Because this text uses PowerPoint gradients, they can be applied to any other text with the Format Painter tool (to copy the style from one text box to another).

Each word is a separate text box and each has its own gradient fill styling. Here’s how the gradient was created:
- Select the text
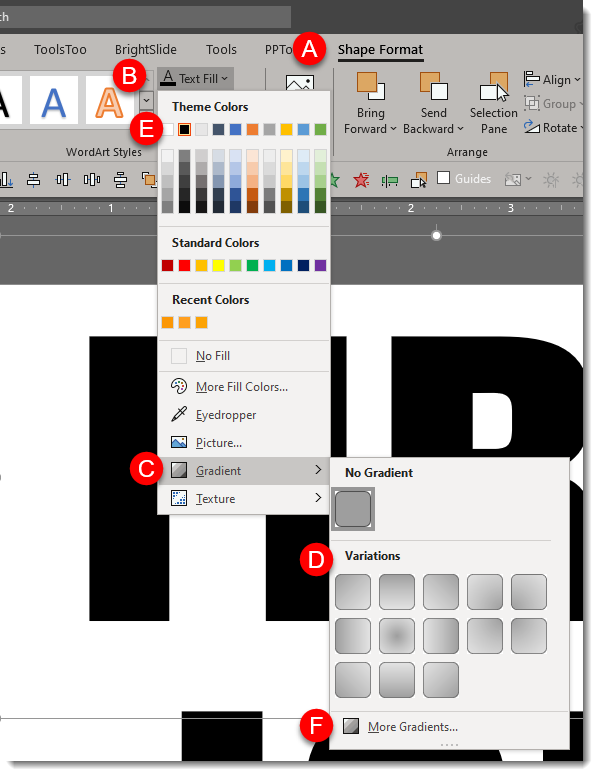
- Under SHAPE FORMAT (A) on the ribbon, click the down carrot under TEXT FILL (B).
- Mouse over GRADIENT (C) to show the gradient fly out menu and select the gradient you want (D).
- These first options are created using the text fill the text is set to, this example being black (E). To see more PowerPoint created variations, click the MORE GRADIENTS (F) at the bottom of the fly out menu.
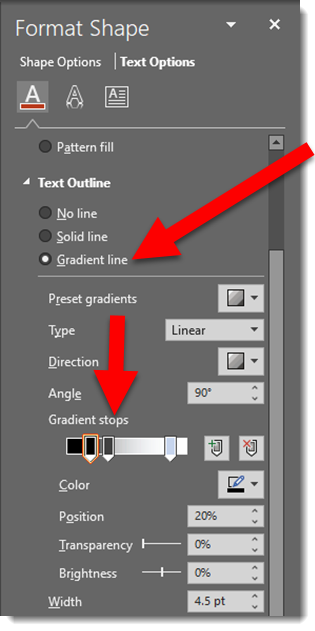
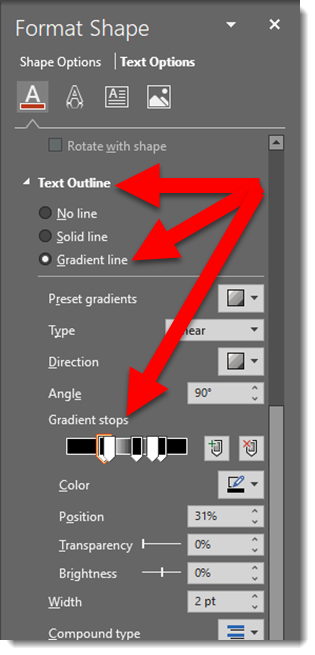
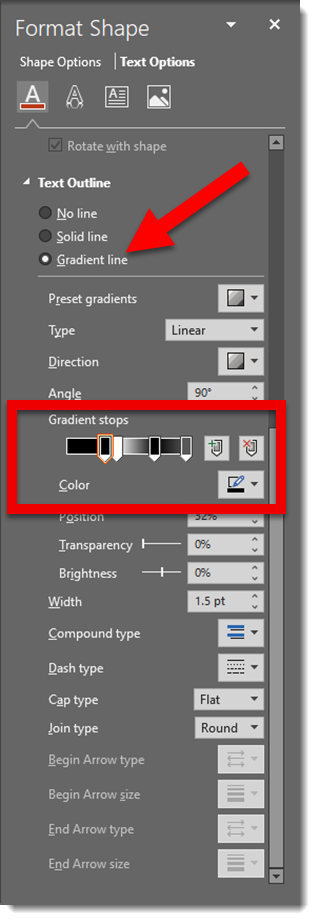
Click MORE GRADIENTS to see the FORMAT SHAPE pane. This is where we really have control to create custom gradients. The FIRE gradient is 5 gradient stops (eg. colors) set at an angle:
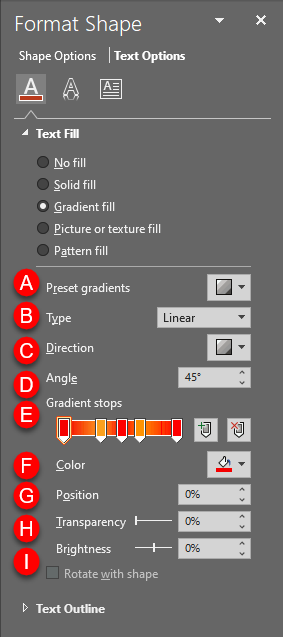
(A) PRESET GRADIENTS: These are gradients created using the 6 theme colors set in your file.
(B) TYPE: Change the type of gradient:
1. LINEAR: horizontal, vertical, diagonal
2. RADIAL: circular gradient starting from the center or from any of the 4 corners
3. RECTANGULAR: rectangular gradient starting from the center or any of the 4 corners
4. PATH: creates gradient in the shape of the object its filling
C. DIRECTION: Change the direction of LINEAR or RADIAL gradients
D. ANGLE: Change the angle of the direction of the gradient
E. GRADIENT STOPS: set the color points of the gradient. You can ADD (click anywhere on the gradient) or SUBTRACT (click and drag the gradient stop off) points and set the color of each.
F. COLOR: select the color for a gradient stop.
G. POSITION: you can fine tune the position of a gradient stop.
H. TRANSPARENCY: set transparency of a gradient stop.
I. BRIGHTNESS: set brightness of a gradient stop.
Download the FIRE & ICE gradient fill sample slide Here.
Troy @ TLC
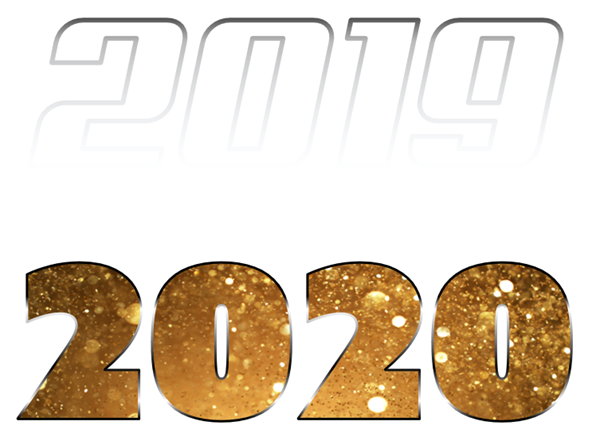
2019 to 2020 Stylized Text
A popular visual for lots of presentations this time of the year is a visual that sets up a conversation about goals and expectations for the year ahead. Using just PowerPoint text and styling effects, here is a quick dynamic slide (editable slide download link at the end).
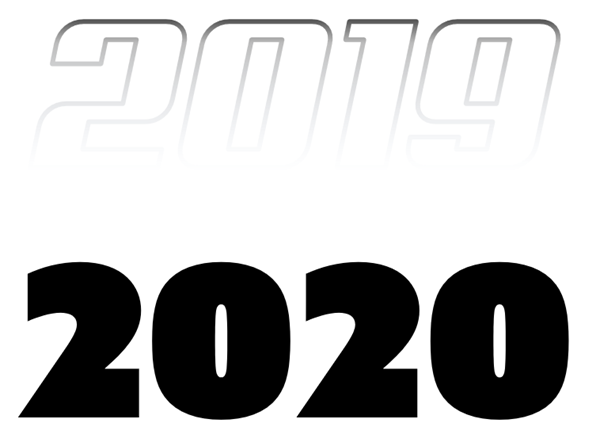
The goal of the slide is to show 2019 moving into 2020. The start of the slide is adding two text boxes:
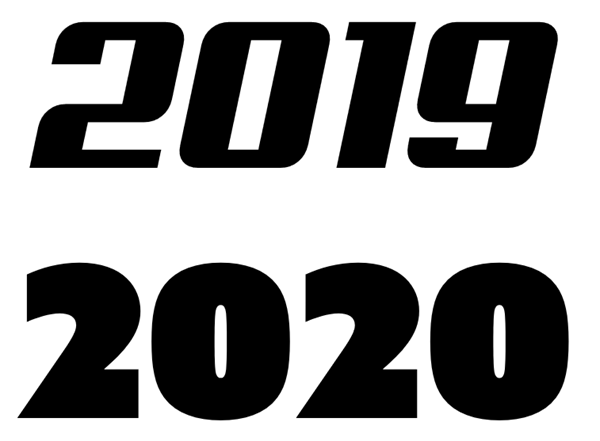
Using just the outline of text is a way to create text that feels “designed”. For this slide I am using a bold outline for the 2019:
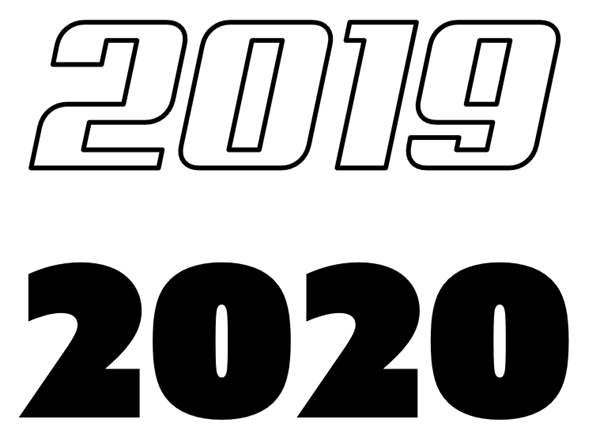
To create a visual of 2019 fading into 2020 the text has a custom gradient outline:
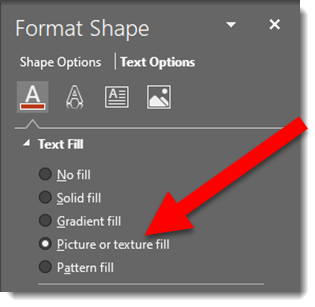
To make the 2020 literally dazzle and sparkle, I am using the same styling effect as the previous post – picture fill. Here is the image used and effects:

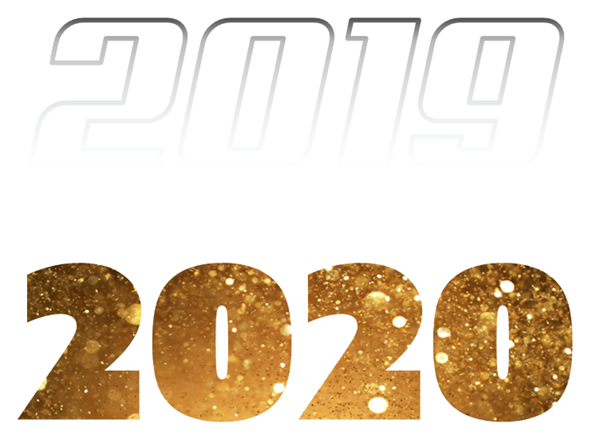
To enhance the 2020 text is further, a custom bold outline is applied:
And as a final touch, a graphic element is added to show the motion of 2019-to-2020. A PowerPoint arrow, sized wide and short with a gradient fill:
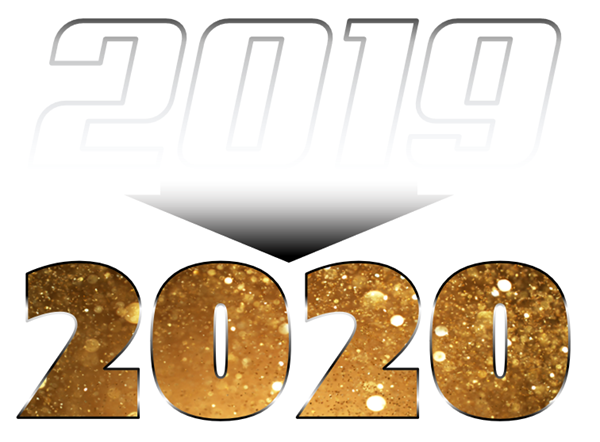
Download the PowerPoint slide HERE
Note: custom font used will default to available font when opened, but all effects remain intact.
Troy @ TLC
Happy New Year!! Let’s Talk About Stylizing Text in PowerPoint
Today is the first day of the new year, new decade, and new presentations! This month I am focusing on a dozen posts that have stylized text – all with native PowerPoint effects. For day 1 of 2020, I am turning a plain 2020 text into a stylized layout that visually shows the bright future ahead of us this year – and keeps the text editable!
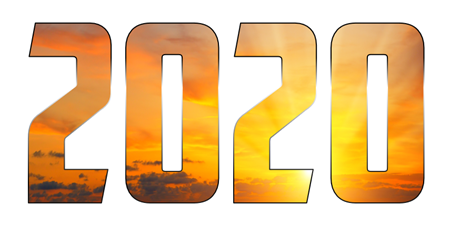
Here is the base text; black text on a white background, but a fun font “American Capitan”.
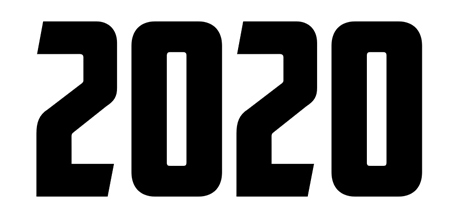
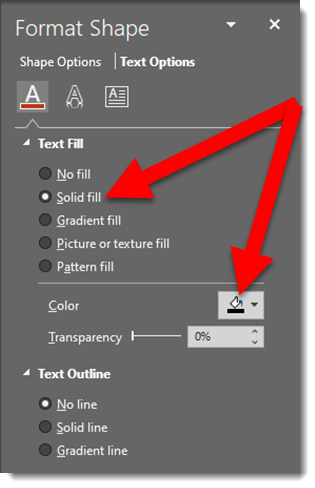
This is the text fill default; solid fill and black (or whatever the template has as the Dark 1 color)
Any photo can be used to fill the text. I have this inspirational photo of a sunrise to use

Select the text box, go to FORMAT SHAPE > TEXT OPTIONS > select PICTURE OR TEXTURE FILL > navigate to the sunrise photo and select it
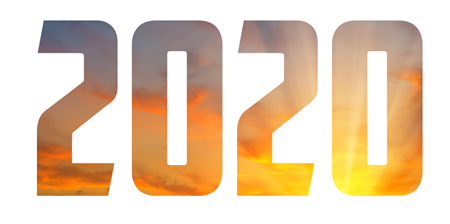
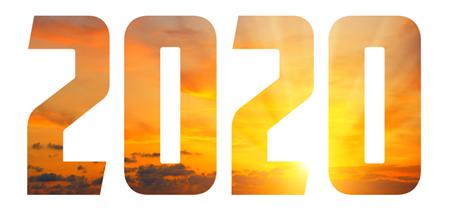
The photo is not displaying the image as I want. The OFFSET and SCALE options move and size the image within the text
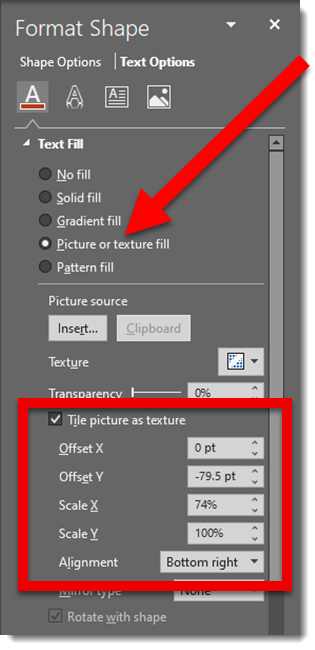
Now the “2020” image fill shows the bottom portion of the image and the sun itself positioned at the tip of the number 2
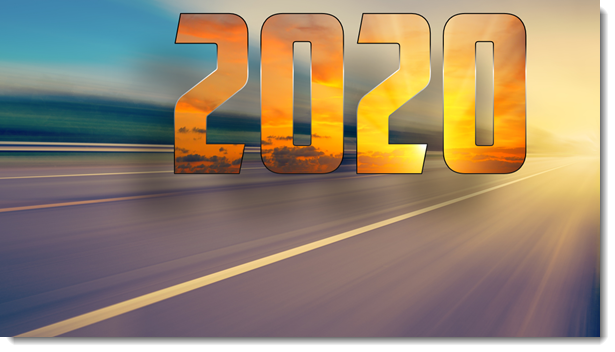
Next is a stylized gradient outline
The final formatting is adding another image as the slide background and positioning the editable “2020” and applying a drop shadow
Troy @ TLC
TLC Creative’s 2019 Top 10 – #1
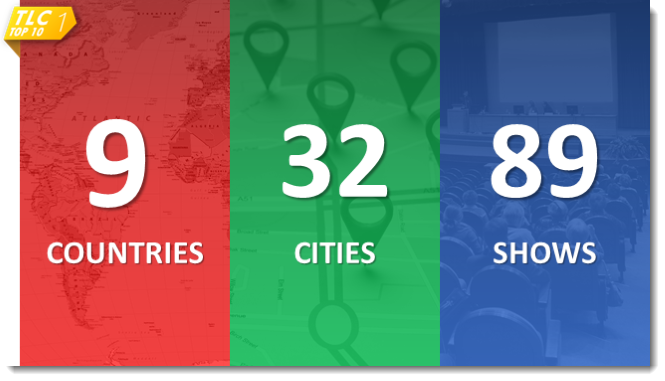
#1 on our 2019 Top 10 list is number of fantastic travel design projects TLC Creative Services completed in the past 12 months!
TLC Creative’s 2019 Top 10 – #2
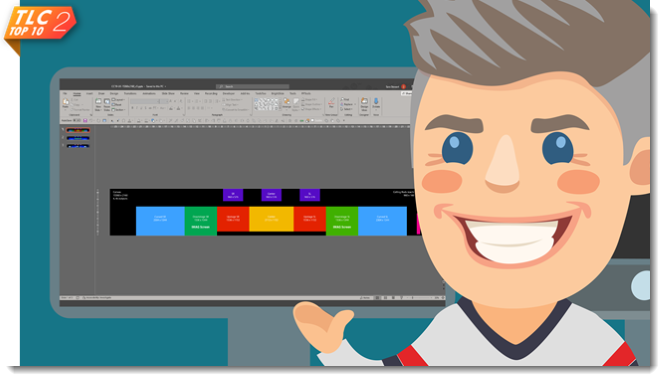
TLC Creative has lots of “ultrawide” presentation projects where we have the opportunity to work with presentation setup and design/animation beyond the typical 16×9. 2019 was a benchmark in “going big” – that is in pixels. We developed the master template layout for a 15,360px wide x 2,160px tall canvas! That is four 4K outputs that placed content on 13 different LED screens, all running from a single computer (that is a powerful computer)!
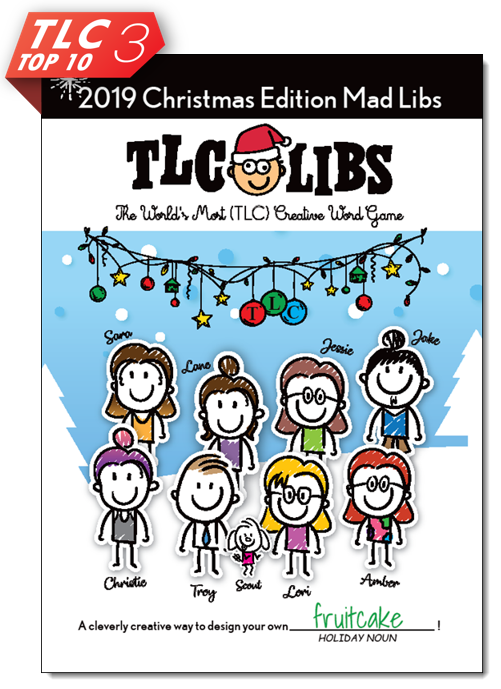
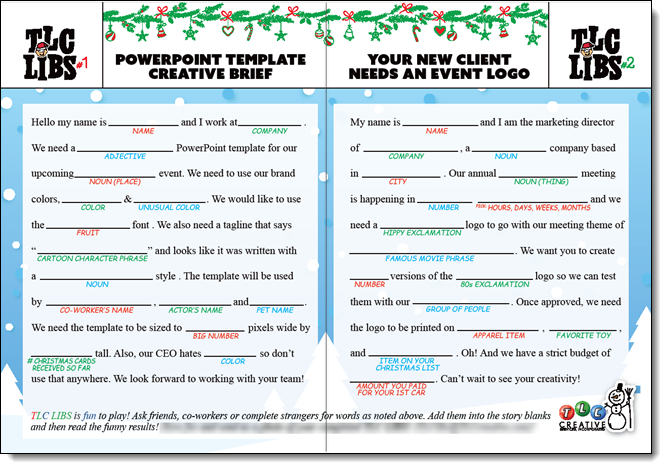
TLC Creative’s 2019 Top 10 – #3
Our design studio #3 on our Top 10 list is the fun and creativity we get to invest in creating our Christmas card! This year was a new take on the MadLibs we grew up with – this time with a PowerPoint project twist. If you were on our Christmas card list, hopefully you had some fun with the interactive fill-in-blank stories with co-workers!