Using Windows 7 Keyboard Shortcuts to Move A Presentation
Windows 7 is installed on all computers here at TLC Creative Services for good reason – it is the best operating system Microsoft has released. If you are not familiar with moving and arranging application windows using keyboard shortcuts in Windows 7, it is a great feature!
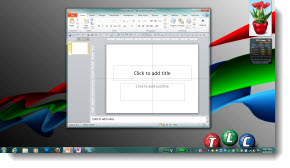
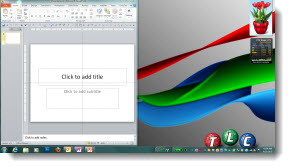
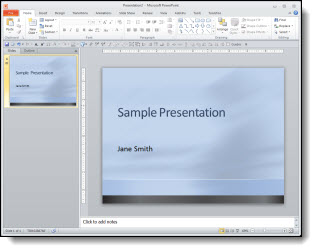
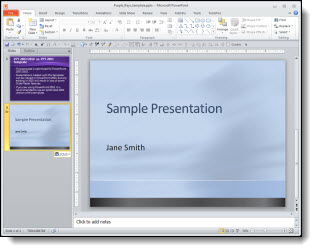
Here is my desktop with PowerPoint open as a small application window:
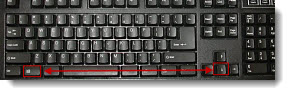
If I used the Windows Key + Up arrow
PowerPoint maximizes to full screen:
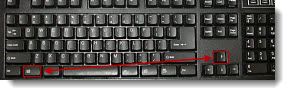
Use the Windows key + Left arrow to snap PowerPoint to the left side:
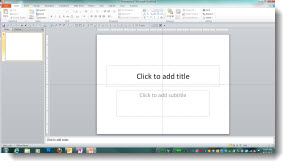
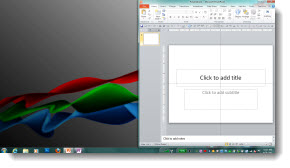
Use the Windows key + Right arrow to snap PowerPoint to the right side:

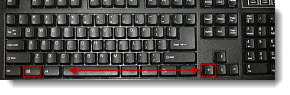
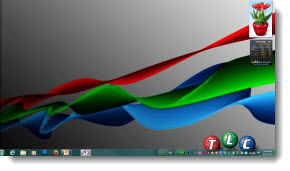
And use the Windows key + Down arrow to minimize PowerPoint:
Plus, if you have multiple monitors this also moves the application to the other monitors! Use Window Key + Left/Right arrow to “step” the application across the screens. Or use Window key + Shift + Left/Right arrow to quickly move the application to the other monitor keeping the same size and position when it moves.
Give it a try, I am certain this is a Windows 7 feature you will make a part of your daily design routine like I have.
– Troy @ TLC
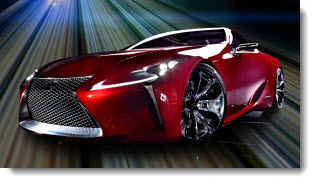
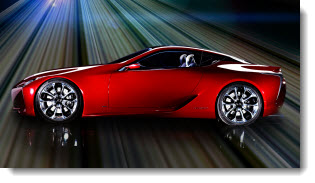
Presenting the Lexus LF-LC Prototype
I am fortunate to work on a lot of really great projects. One constant is the content is not something I can share with others, and often it only has that great appeal when viewed in context of the staging, screens and other slides. The Lexus LF-LC is now public knowledge, so I thought I would share a few slides from the show where it was first shown.
I started with a background for the presentation that had lots of motion and energy. The content was lots of visuals and minimal text (no bullets). So working within the brand style guide here is the slide background I created for the LF-LC.

Next step was to optimize the great photography in Photoshop for each slide. The screens for this show were very large and projected in HD, so the slides and images really made fantastic visuals. Now imagine these slides 40′ wide!
– Troy @ TLC
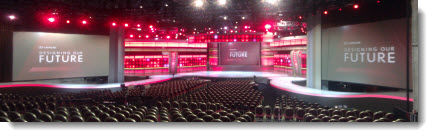
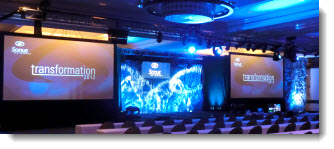
Lots of Fun with Big Staging and Big Presentations!
I wrapped up 2011 with this show in Las Vegas. The staging was fantastic – with 3 large presentation screens and lots of stage lighting (fantastic LD on this event)!
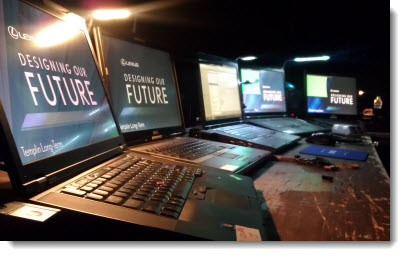
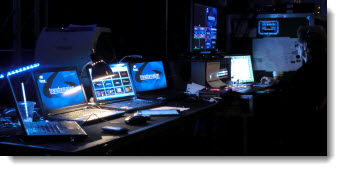
My world consisted of a month of presentation design and one very long and very full table of computers to run everything onsite.
– Troy @ TLC
Showsite and a Trip Back to My Youth
Just wrapped up a show at the La Costa Resort in San Diego. Great event, super crew and good client. All of the presentations ran smoothly and it was fun as I spent much of my youth growing up right there in La Costa.
– Troy @ TLC
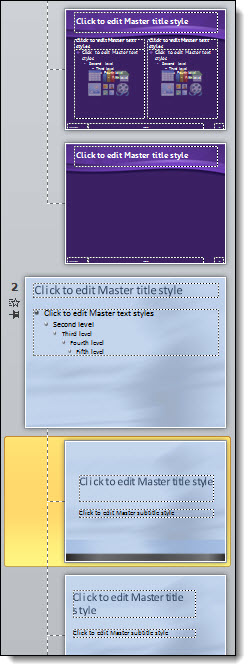
“Keep Source Formatting” Adds New Master Slides and Layouts
Using the previous post as the example, when a slide from another presentation is inserted, it can use the destination theme, which means use the existing master slide.
Or it can use the “Source Formatting”
Source Formatting means new master slides and layouts are being added to the presentation:
– Troy @ TLC
Theme or Source – Your Choice
When moving slides from one presentation to another, the slide formatting (based on the master slides) is your choice – if you use the Paste Dialog.
1. From any presentation, copy the slides either in the left pane or slide sorter.
2. Go to the presentation where the slides are to be added and paste them in.
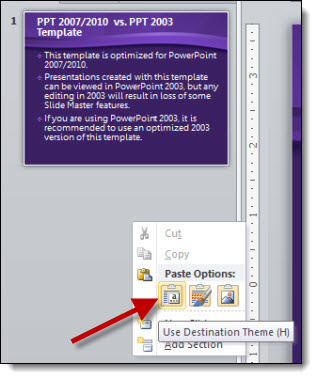
3. To paste, click where new slides are to be added and right-click. From the pop-up dialog, under “Paste Options” select “Use Destination Theme.”
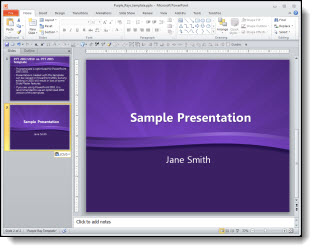
4. The pasted slides will take on the formatting from the master slide set in the presentation:
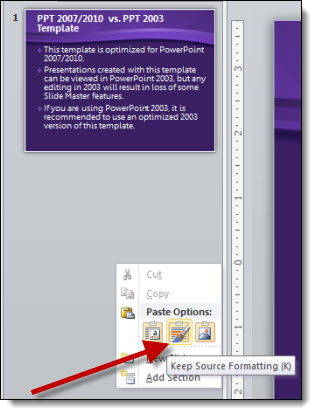
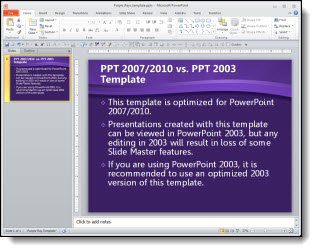
5. Or you can choose “Keep Source Formatting:”
6. With “Source Formatting” the new slides retain their orginal master slide and formatting:
The choice is yours!
– Troy @ TLC
Creating the % Number Gradient Style
Here is the example slide from the previous post (download link below).
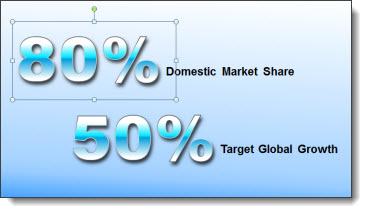
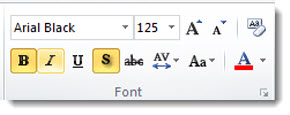
Here is a quick how-to on creating the custom text style. The “regular” text is Arial, 24 pt, bolded. The stylized text is Arial Black, 125 pt, bolded, drop-shadow, outline and gradient fill (so think BIG)
To create the gradient fill:
1. Type = Linear (= one direction)
2. Angle = 90 degree (= top to bottom)
3. Gradient Stop 1 = white, position 28%, transparency 05 (solid)
4. Gradient Stop 2 = bright cyan, position 46%, transparency 05 (solid)
5. Gradient Stop 3 = muted blue, position 48% (very close to the other blue), transparency 05 (solid)
6. Gradient Stop 4 = white, position 75%, transparency 05 (solid)

To see this gradient in PowerPoint (2010 is my recommendation for gradients (over 2007)), download here. (43K)
– Troy @ TLC