We just reviewed how to make metallic text with gradients, but we can also use Image Fills to create unique effects as well. We used the following still images from Adobe Stock for this example: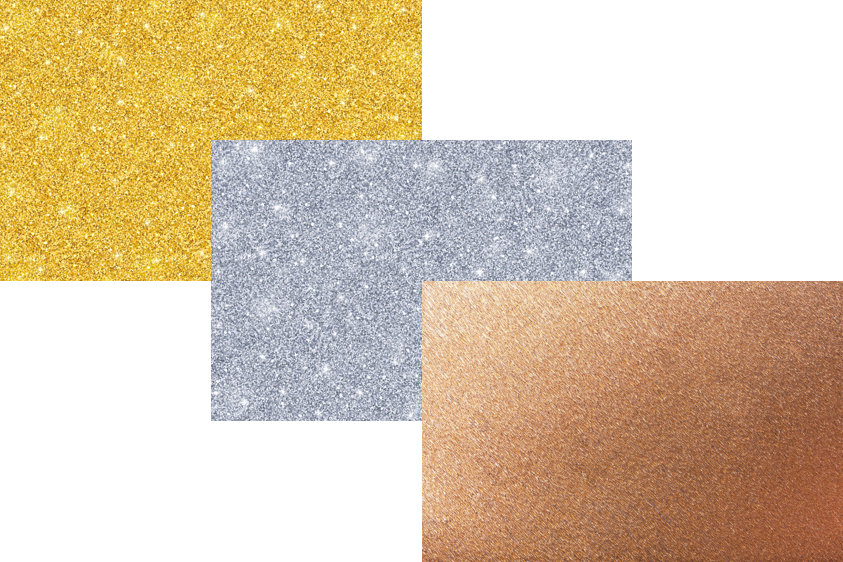
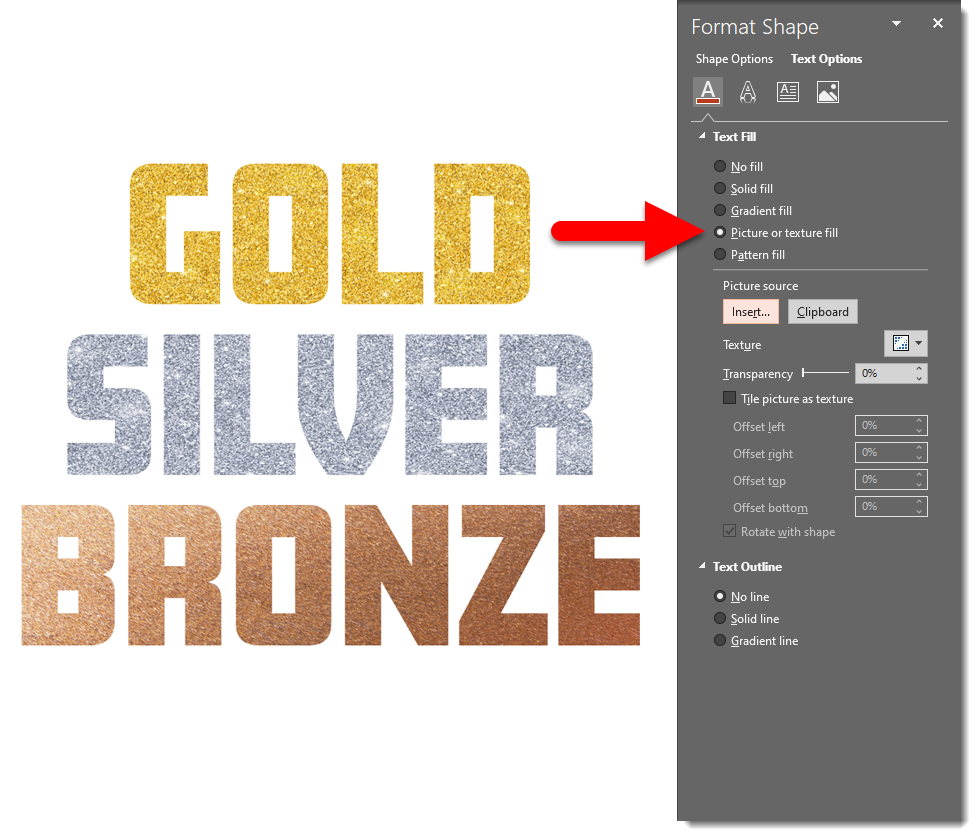
For our first example, we just filled the text with the images. Right-click on your text box and select FORMAT SHAPE. Go to the TEXT OPTIONS tab, then choose PICTURE FILL. What’s great is that the text remains editable, and the image will make itself a pattern to fit as much text as is necessary.
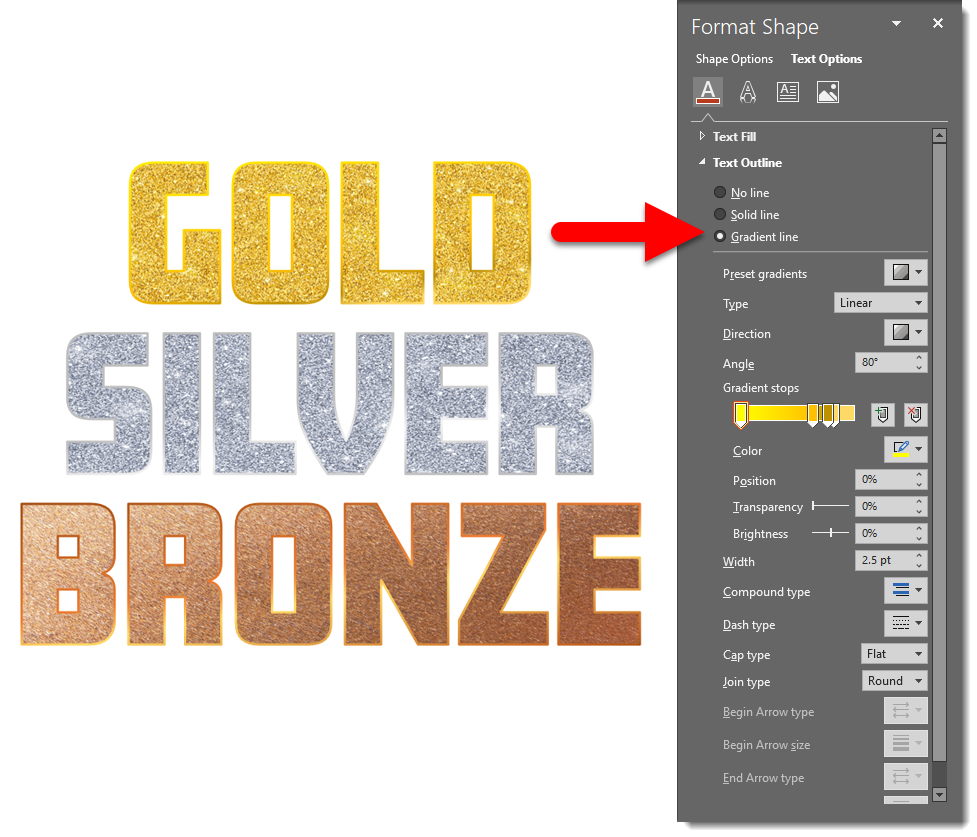
Next we took this image-filled text and added a gradient outline on the text to help jazz it up a little bit. Right-click on your text box and select FORMAT SHAPE. Go to the TEXT OPTIONS tab, then scroll to TEXT OUTLINE. We added a similar gradient from our Metallic Lines post. This helps give the text a literal border, as well as add a little more dimension to the text.
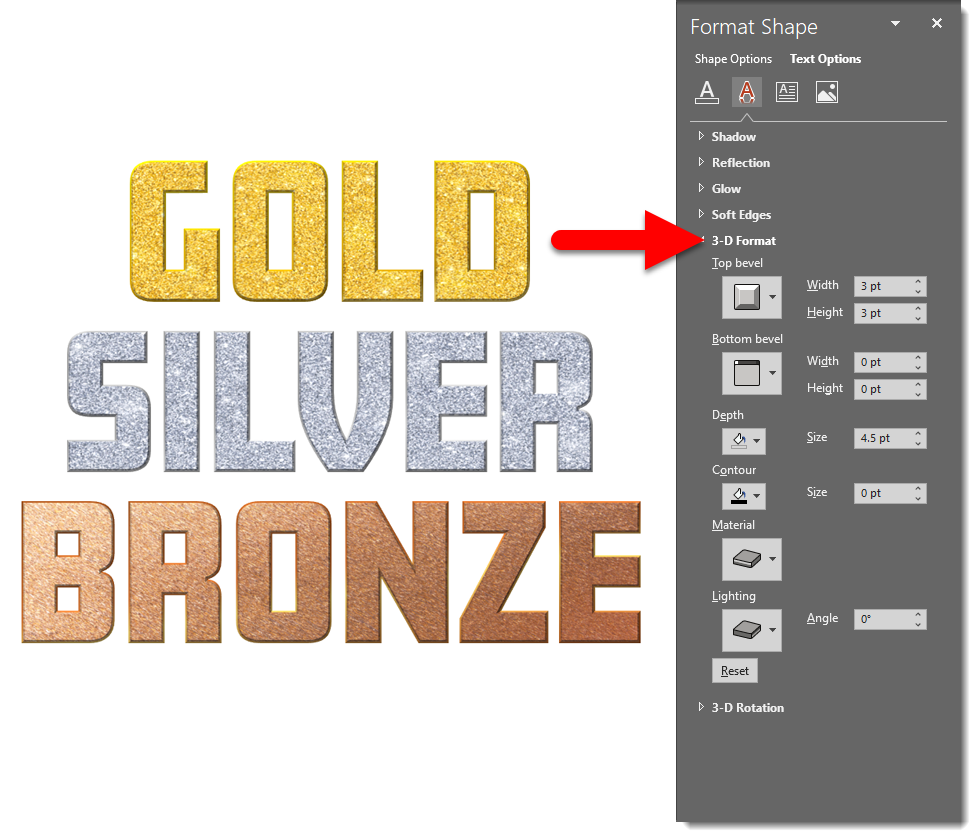
Finally, we added a bevel in addition to the image fill and gradient outline to really elevate the metallic look. Right-click on your text box and select FORMAT SHAPE. Go to the TEXT OPTIONS tab, then the EFFECTS tab. Adjust the bevel depth until you get the effect you’re looking for. We used a deeper bevel to match the bold font.