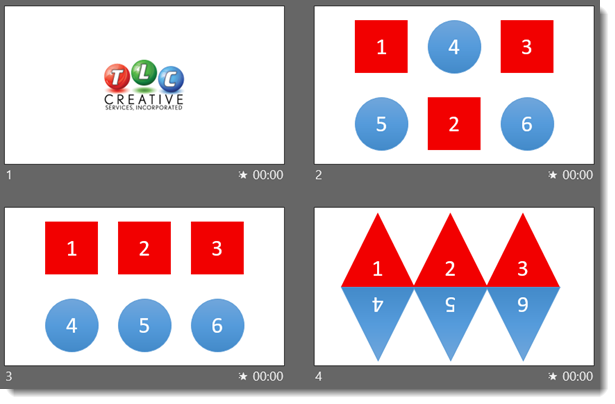
This is Part 2 of this tutorial (see Part 1 here). This is the same 4 slide deck with the exact same Morph transitions applied:
The critical difference is I went in and named each of the 6 shapes in the Selection Pane. This is the new Morph Object Tagging feature – it allows us to force associations of objects across slides, which forces Morph to transform exactly the objects we choose.
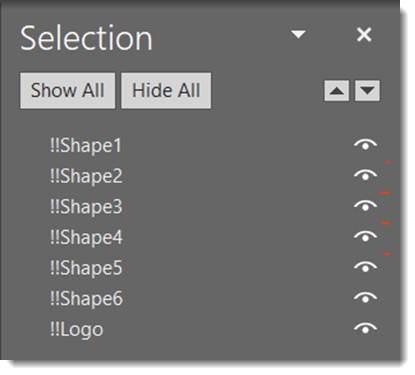
The behind the scenes coding (as I understand it) is a really clever hack by the Microsoft team. Each object (photo, shape, vector graphic, text box) is assigned a unique ID number, something we as a user cannot control, and is separate from the Selection Pane naming. Each slide, even with the same objects, is reassigned ID numbers, so there is not a guarantee of association from slide to slide. The Morph Object Tagging steps in as the slide transition starts, reading the Selection Pane names for each object. Then reads the Selection Pane names of objects on the next slide. If the objects start with a double exclamation mark “!!” and have the same name, Morph overrides the PowerPoint ID number and associated those two objects – a fantastic hack for everyone to take advantage of!
Slides 1-2; the logo and shapes go to the expected locations, with or without Morph Object Tags applied (see Part 1).
slides 2-3: All of the shapes rearranged themselves with Morph, again with or without Object Tags applied (which as a good surprise).
slides 3-4: without Object Tags, there was no motion and a legacy Fade Off/Fade On effect which really was not the desired motion. With Object Tags applied, the Morph transition works perfect!
[KGVID]https://thepowerpointblog.com/wp-content/uploads/2019/06/unnamed-file-5.mp4[/KGVID]
Troy @ TLC