Tutorial

Clipchamp – Text-to-Speech

Clipchamp has an amazing a text-to-speech feature!

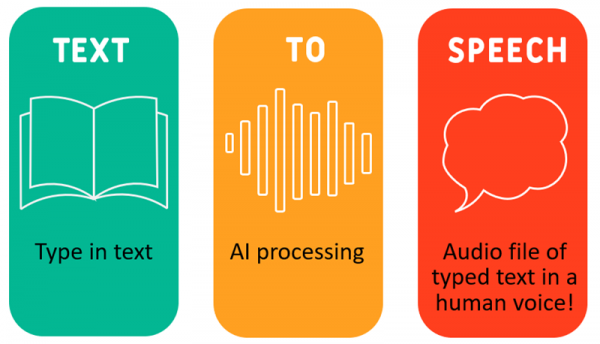
With text-to-speech, type in the text and Clipchamp’s AI engine will add the typed text as a human voice.

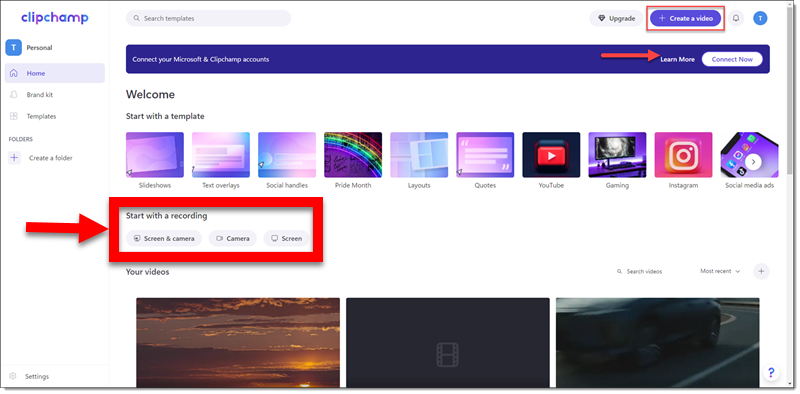
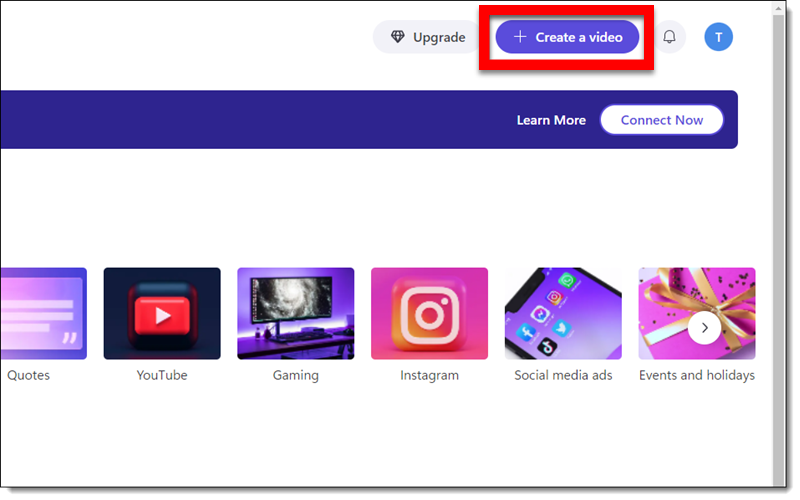
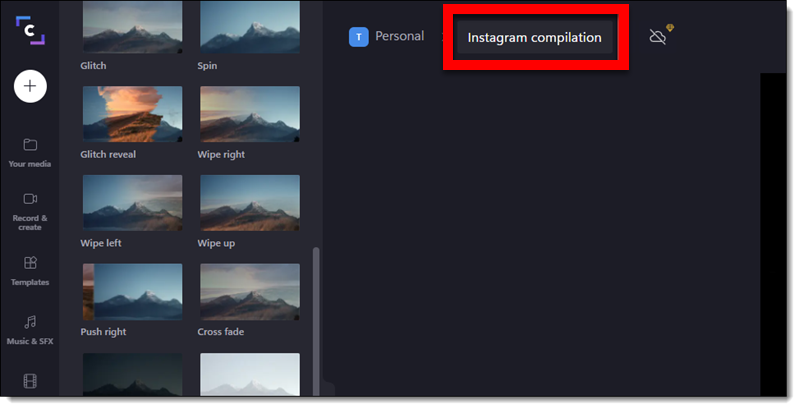
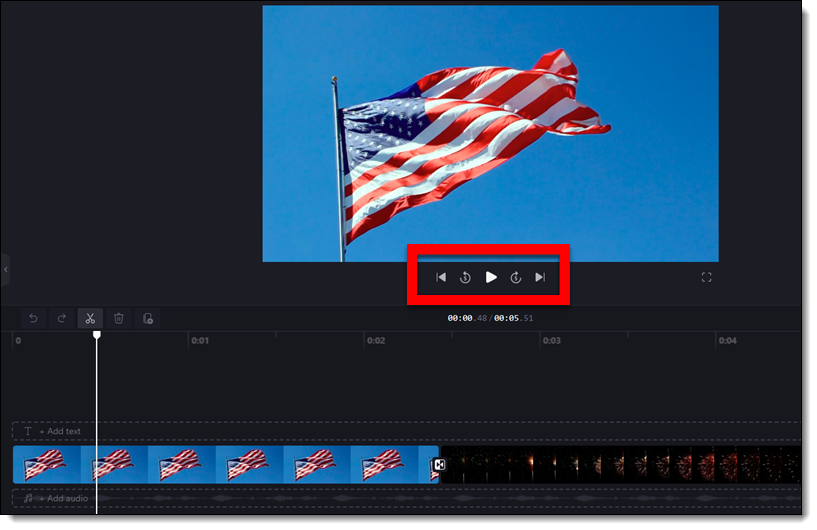
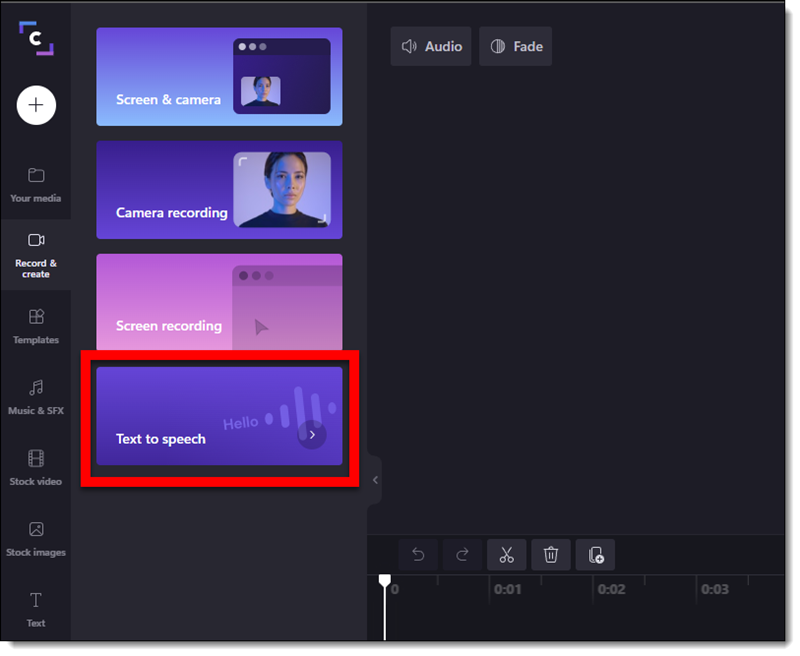
In Clipchamp, start a new video project, click “Record & Create” on the left, and click the “Text to speech” button.

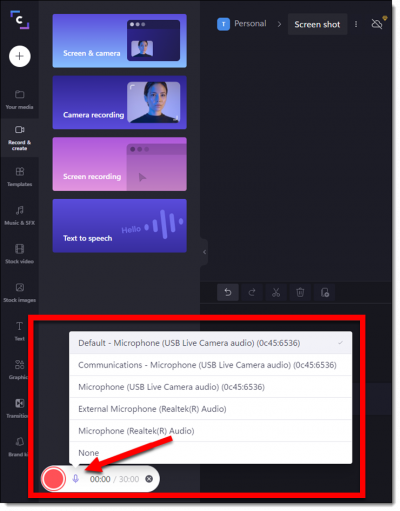
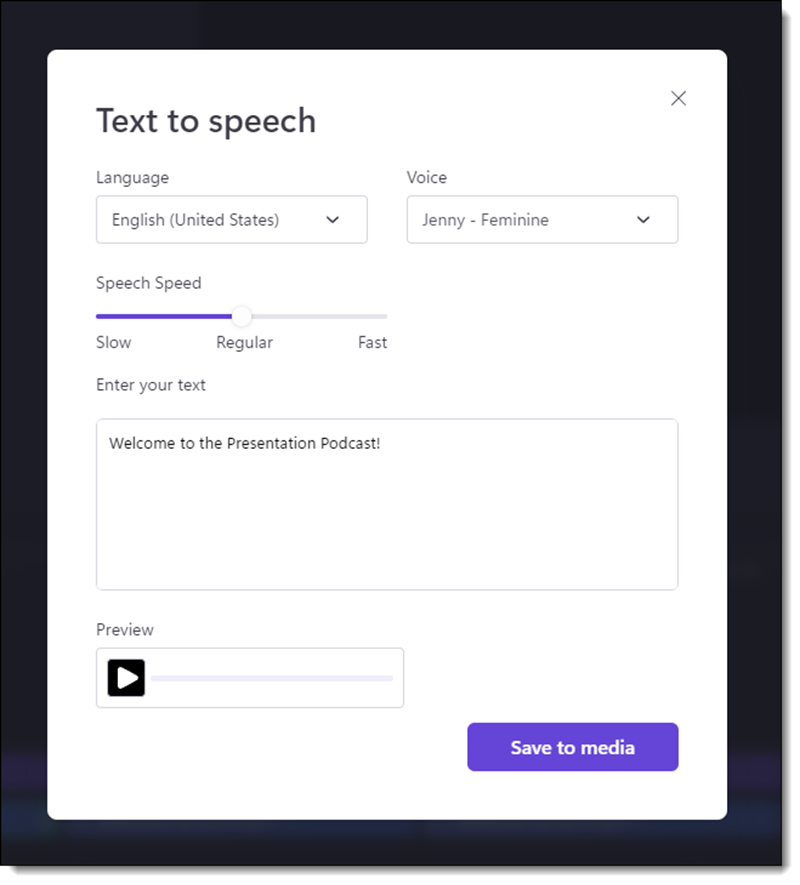
In the pop-up window, type or paste in the text that will be spoken.

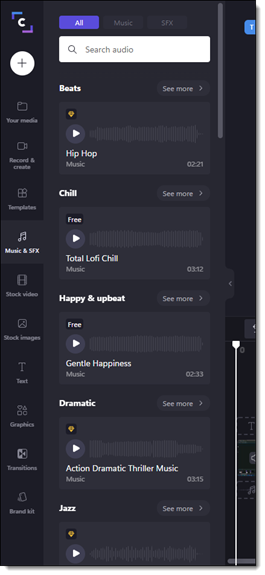
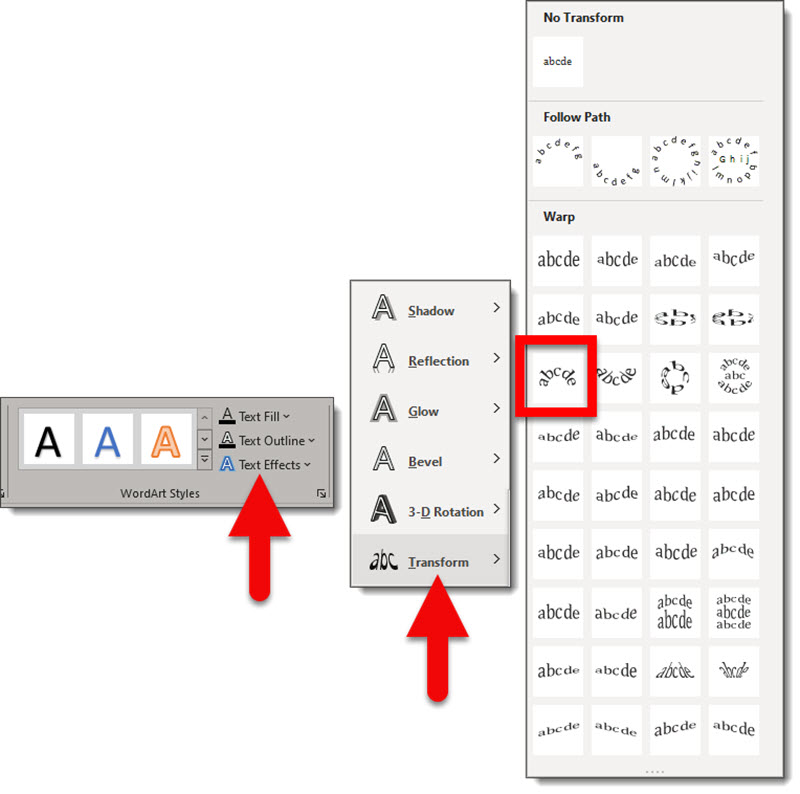
  • Select the LANGUAGE (wow!)
  • Select the VOICE from the 20+ options.
  • Select the SPEED the text is spoken (eg. for a narration, slower. For an announcement, faster).
  • TIP: click the PREVIEW play button to hear the spoken text. Update any of the options (eg. different voice or speed) and click the preview again.
  • Clicking “SAVE TO MEDIA” adds to the video timelines – and no further editing (just repeat the above process with a new speech to text if an edit is needed).

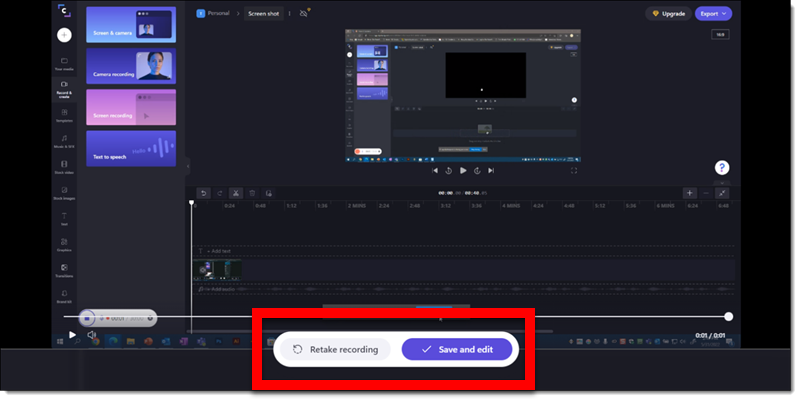
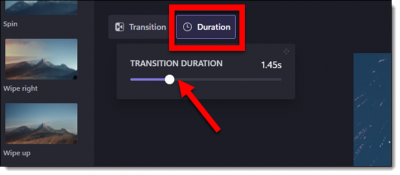
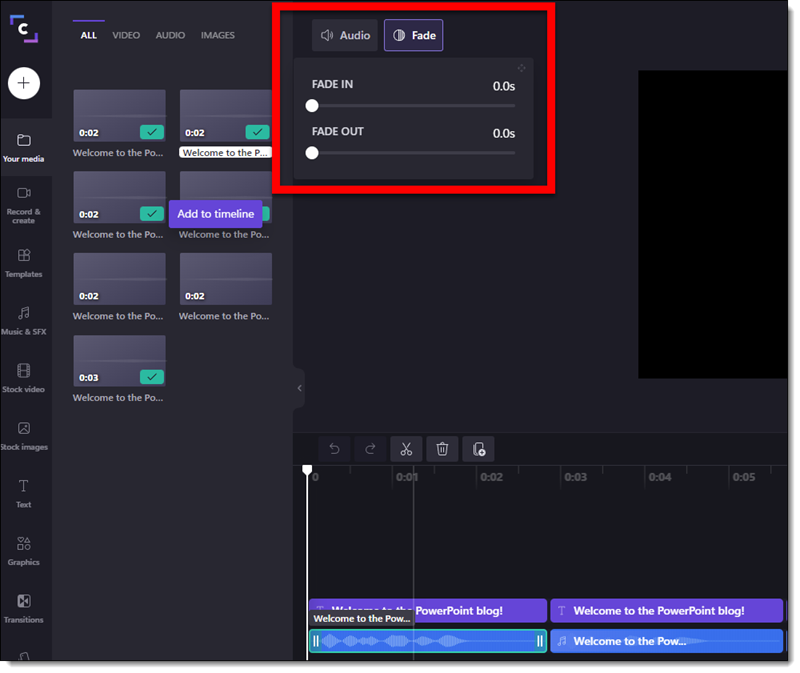
A new element is added to the timeline. There are some additional editing options to the video timeline text, such as Fade in/out.


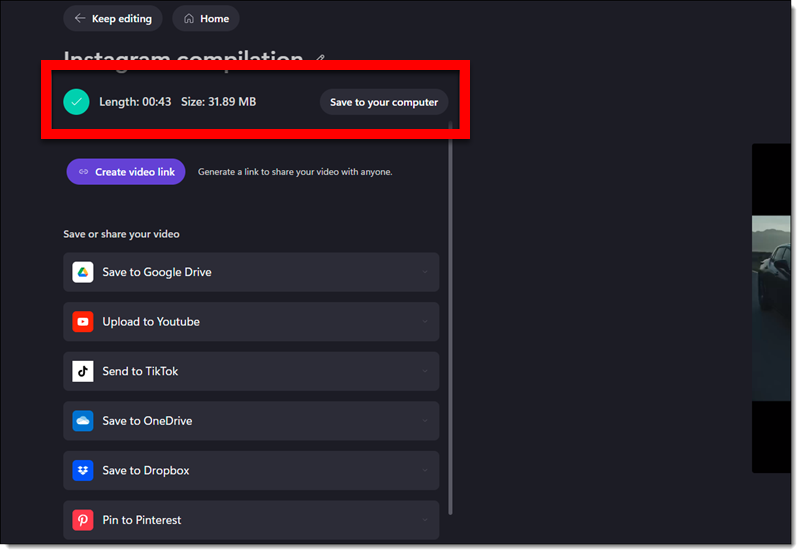
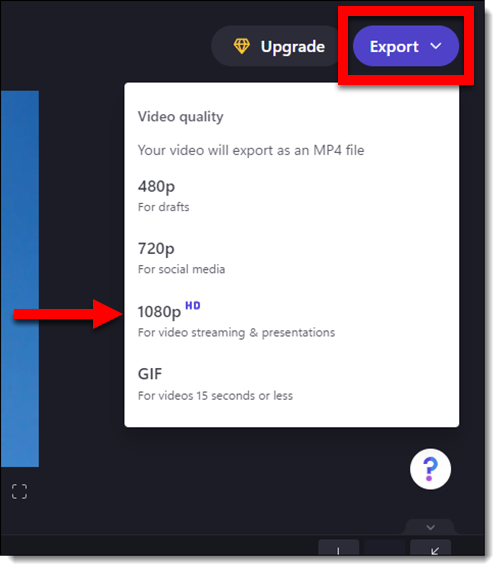
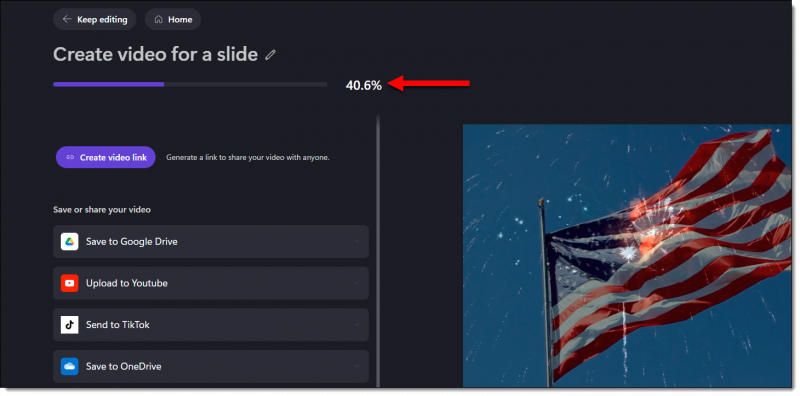
EXPORT the video. This creates a video with no image, just the audio. Unfortunately, Clipchamp does not let you only export audio. Either insert the video file off slide, which adds the audio to the slide. Or use another app to convert the video file to a .mp3 audio file to insert onto the slide.

Our demo – we used a few of the preset text animations to create a demo video of the same phrase spoken by 5 of the different voices in the Clipchamp text-t0-speech library.

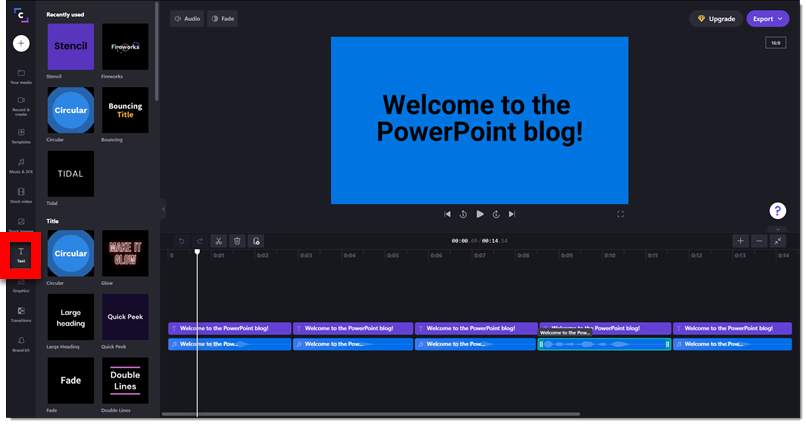
Here is what is sounds (and looks) like:

[videopack id=”16339″]https://thepowerpointblog.com/wp-content/uploads/2022/07/Clipchamp_text-speech_video.mp4[/videopack]


By |2022-06-29T08:56:16-07:00July 1st, 2022|Software/Add-Ins, Tutorial|

Clipchamp Screen Capture Videos

The Clipchamp video editing app also has a video screen capture feature. Capture on-screen content such as a software demo. The video can also record your live narration, or include you via live webcam.


For this post, let’s go with a software demo that we want to include as a video on a slide.

  • Open Clipchamp
  • Click “Create a video” on the top right.
  • On the RECORD & CREATE tab=choose the type of content (screen & camera, camera only, screen only).
  • OR, use the quick access “START WITH A RECODING” section on the main screen and choose the type of content (screen & camera, camera only, screen only).

  • The pop-up in the lower left is the screen recording dock. The red button is how the screen capture is started. The Mic icon – if recording a narration – is where the record mic setup. The record duration starts when the record button is clicked.

  • RED means ready to record. PURPLE means the recording is in process.

  • TIP: one really nice option is the “retake recording” available on the screen-sharing notification bar.

  • After stopping the screen capture record, Clipchamp’s post editing options can be used to add music, accent graphics, text, transition effects and more.

  • Export the video and add it to the presentation slide!


By |2022-06-22T13:00:07-07:00June 24th, 2022|Software/Add-Ins, Tutorial|

Clipchamp – Create an Instagram Video Compilation

A common presentation request (for TLC Creative) is “Let’s add these videos from our Instagram account.” So, for this post let’s download some Instagram videos and create a video collage for the presentation (4 videos that transition at :20, :38, 1:15, 1:39).

Downloading Instagram videos is the first step. There are many third-party apps and websites for downloading videos from links.

  1. Open the Instagram video on the Instagram site.
  2. Click the 3 dot menu in the upper right.
  3. Use the third-party app/website of your choice to download each video (which is generally pasting the Instagram video link into the app).


Create your video in Clipchamp:

  1. To create the video collage for the presentation, open Clipchamp and click “Create a video.”
  2. Name the video by clicking on the “untitled video” (I called this one “Instagram compilation”).
  3. Instagram is a tall, or portrait, aspect ratio. Use the aspect ratio button on the right and change the aspect ratio to 9:16.
  4. Add the Instagram videos. Click the “+” button on the left menu and drag-and-drop videos.
  5. Add videos to the timeline, and confirm playback order.
  6. Add transitions between each video. Select a transition effect on the left and drag it to the “+” icon between the videos (a pop-up that says “Add transition” will appear).
  7. Add videos to the timeline, and confirm playback order.
  8. Add transitions between each video. Select a transition effect on the left and drag it to the “+” icon between the videos (a pop-up that says “Add transition” will appear).
  9. TIP: the transition duration can be adjusted. Click the transition between the videos, then the “Duration” button at the top, and adjust.
  10. Export the video and add to the presentation!
  11. Your video will start to render. Once it’s completed, you can download it to your computer or share it with Clipchamps other options.

Once the video has downloaded to your computer, you can insert it into a PowerPoint slide. This is a great way to piece together multiple videos, which PowerPoint doesn’t feature yet.

By |2023-12-21T16:21:05-07:00June 17th, 2022|Software/Add-Ins, Tutorial|

Clipchamp – Create a Custom Presentation Video


When you open Clipchamp there is a lot of social media video templates, but we focus on using Clipchamp as a video editing app. As example, creating a video for a PowerPoint presentation.

Note: PowerPoint has some very good video editing tools and styling features. Like the ability to trim the beginning and/or end of a video. Easily adjust the playback size of a video, crop a video, or even recolor a video. But when the goal is to remove a middle section of a video, or merge multiple videos into a single video, a more full feature video editor is going to be the solution. While we are a very Adobe centric design studio (ie.Adobe Premiere and After Effects), ClipChamp is quickly becoming a favorite for these quick video edit needs that are beyond PowerPoints native video tools.

The read time on this is most likely longer than the actual edit time (under 5 minutes to create the video for this tutorial). We are merging two videos with a fade transition from one to the other, rendering and adding the new single video to a slide.

  1. Open Clipchamp (TIP: use as a local app vs. web-based browser app – this will save time on not needing to upload video clips to Clipchamp servers).
  2. Click on the “Create a Video” button on the upper right corner of the screen.
  3.  Name the video by clicking “Untitled Video” text in the upper left hand (TIP: this will be the file name in your project list and the name used for the rendered video).
  4. The default video aspect ratio is 16:9. But other aspect ratio options are available. Click the “16:9” button on the right below the “export” button and pick an option from the drop-down list.
  5. Add media for the project (videos, images, audio files, etc.) by clicking the “+” icon on the left and drag-and-drop.
  6. We have added 2 videos and added them to the editor timeline (in the order of playback). Use the “scissors” tool to trim videos if needed.
  7. To add a fade transition of your choice between videos by clicking the “Transitions” tab on the left menu (the example video uses the “Cross blur” transition) and drag the transition from the left to “+” icon between the video clips.
  8. TIP: transitions can be adjusted by clicking the “+” icon and then in the top left either TRANSITION (to change what transition effect is used) or DURATION (to change the length of the duration).
  9.  Preview the video with the playback buttons.
  10. Create the video (eg. render the video) by clicking the “Export” button on the top right. From the drop-down menu, select a resolution – we are using the standard HD, 1920×1080 option.
  11. The progress bar show a percentage complete, but unfortunately does not show an estimated time remaining. The video downloads to the computer DOWNLOADS folder. Other options to create a shareable link or upload direct to other online destinations are available.


And here is our video on a slide!

By |2023-12-21T09:50:18-07:00June 15th, 2022|Software/Add-Ins, Tutorial|

You’re a Pill!

For a recent project (can we all say “pharma deck”) I needed a medication/pill icon.

  • Option 1, which i will admit is my primary option, is to open the Noun Project in PowerPoint, find the icon, copy to slide, modify as needed (because the icons are editable .svg graphics!).
  • Option 2, go to Adobe Illustrator and quickly create the needed pill icon (and shortcut the process by selecting – copying – pasting into PowerPoint – which is an editable .svg graphic!).
  • Option 3, add a PowerPoint shape, give it a color fill and add text (into the shape – not as a text box on top of the shape!) that labels that shape as a “Pill”. This is a common solution when formatting a 200+ slide deck and have a time constraint budget.

But on this recent project I created option 4, which is really spending some additional time on Option 3 and making it great! Here are a few of my full editable, resizable, recolorable, ready to use “pill” PowerPoint shapes.

The pill shape is simply a rounded rectangle PowerPoint shape with the rounded corner adjuster moved inward to create fully rounded ends to the rectangle.

It is also a 2 color gradient, with 4 color stops.

The tricky part is manually entering the middle color stop positions vs. click-and-drag. Set both to 50%, which eliminates any gradient soft edge and completes the 2 color pill icon.

For my presentation, I also moved away from a flat icon styling to a slight 3D bevel look by using PowerPoints 3D shape option.

Download the PowerPoint Pill Shape on a slide HERE

Troy @ TLC

By |2022-05-18T18:22:49-07:00May 23rd, 2022|PowerPoint, Tutorial|

Still Waiting for the Office Refresh?

I just worked with another designer that noted that their Office had not yet updated to the new “Windows Refresh” – the updated app styling. Sure enough, PowerPoint on their computer had the “rectangle” interface still.

The solution, at this time because the “refresh” has rolled out to all Office 365 accounts now, is to click the “Upcoming Features” megaphone icon.

Scroll down the Coming Soon content, find the “Try the Experience” toggle, turn it on, and restart PowerPoint.

The app interface for all Microsoft Office should now be on the most recent, “rounded corner” interface 😊

Troy @ TLC

By |2022-05-18T17:52:44-07:00May 19th, 2022|PowerPoint, Tutorial|

Keyboard Shortcut – Reset Graphic Driver

Have you ever been working on something important and all of a sudden, the screen or app window freezes up?


Before losing any of your work by restarting the app or full computer, try this keyboard shortcut. We are going to restart the graphics drivers – which I found is something most people did not know was an option! Click the Windows logo + CTRL + SHIFT + B keys to restart your graphic drivers.


Reset graphic drivers keyboard shortcut

The common solution is first to open the TASK MANAGER and attempt to close the application (if the Task Manager will open). The next action is generally to FORCE SHUTDOWN the computer – argh! which means losing all work since the last save!! Try this trick before shutting down the entire computer! Often the issue is the graphics driver has crashed and this handy keyboard shortcut restarts the graphics driver and hopefully restores access to your computer and the slide deck you were working on (hopeful!). Note, this is a Windows OS hack (sorry Mac people, I do not know if there is a graphic driver reset option there). And this works on Windows 8, 10 and 11.

Troy @ TLC


By |2021-12-31T01:26:29-07:00January 6th, 2022|Resource/Misc, Tutorial|

Quotes and Curved Text

Thank you to Kelli Willcoxson for the inspiration slide.

Design Process:

  • Find an image to support the quote
  • Size, position and crop the image to create a clear area for the quote text
  • Stylize and position the quote text

PowerPoint Formatting Tip:

  • This layout has a lot of custom PowerPoint formatting applied to the text. Easy to do in Adobe Illustrator, a bit harder in PowerPoint.
  • The text is filled with a gradient giving it a subtle blending effect with the background
  • The text also has a subtle glow effect applied, making it seem to glow like the stars in the background
  • But most impressive, and difficult, is the text has a curved layout – using PowerPoint options, and remains 100% editable!
    – Applying the curve effect is a hidden feature in PowerPoint
    – Select the text > go the SHAPE FORMAT tab > go to the WORDART STYLES section of the ribbon > click TEXT EFFECTS > click TRANSFORM (I believe this is the only way to access the text transform feature in PowerPoint) > select a WARP effect, the curve down effect was selected for this slide layout
  • Note: the text warp effect has no interface adjustments, but it is adjustable.
    – By stretching and adjusting the text box the warp changes. As example, make the text box very tall and thin and the curve becomes more pronounced

    – All warp effects have an adjust node, the yellow dot. Sometimes the adjustment is helpful, other times… well, it is obvious we are not using Adobe Illustrator with its greater control options 🙂

Download the editable version of this slide HERE.

Troy @ TLC

By |2021-08-22T11:37:27-07:00September 1st, 2021|PowerPoint, Tutorial|

Quotes with an Overlay Block

Thanks to … for this post’s inspiration slide.

Design Process

  • Locate an image that coordinates with the quote
  • Create a color scheme for the slide (tip: download the editable version of this slide with the link below and look for the awesome image transparency trick!)
  • Create a semi-transparent PowerPoint shape for the quote text
  • Format the quote and attribution text in the PowerPoint shape (no layered text boxes to keep aligned!)
  • Add the quote marks as separate text boxes (okay, not everything can always be formatted in a single text box)

Formatting Tip

  • The text overlay block has transparency so the image can be seen through it, creating a smooth flowing layout
  • Here is the same overlay block on another background to better see its transparency
  • 1 – The image was cropped from the larger original and created the open area for the quote
    2 – The text box has a fill and set to 10% transparency, AND all text is in the single text box
    3-4 – The quote marks are editable text, but are layered on top as separate text boxes to make the unique line spacing and positioning possible

Download the editable version of this slide HERE.

Troy @ TLC

By |2021-08-22T11:13:39-07:00August 30th, 2021|PowerPoint, Tutorial|

Quotes – Rotate the Text

Thanks Kelli (who has moved to another great design job – great for Kelli, sad for TLC Creative) for today’s quote inspiration.

Design Process:

  • This slide started with finding a great image, then researching a quote to use with the image
  • The original image showed more, and it was cropped in PowerPoint to create the layout
  • Typeset the text, select the font, set the size, adjust the line spacing, set the color (pulled from the pink pen in the image)

Formatting Tip:

  • Use PowerPoint’s ability to rotate shapes and text boxes
  • Adjust the angle of any text box by click-and-dragging the rotate icon at the top of the text box, or manually in the FORMAT SHAPE dialog

Troy @ TLC

By |2021-08-22T11:01:44-07:00August 27th, 2021|PowerPoint, Tutorial|
Go to Top